

by Chris
A year and a half after we dug a 24” wide and deep decagon-shaped trench for the dome’s footer, our General Contractor Doug said he was wrapping up a 2-year project and ready to come work with us again.
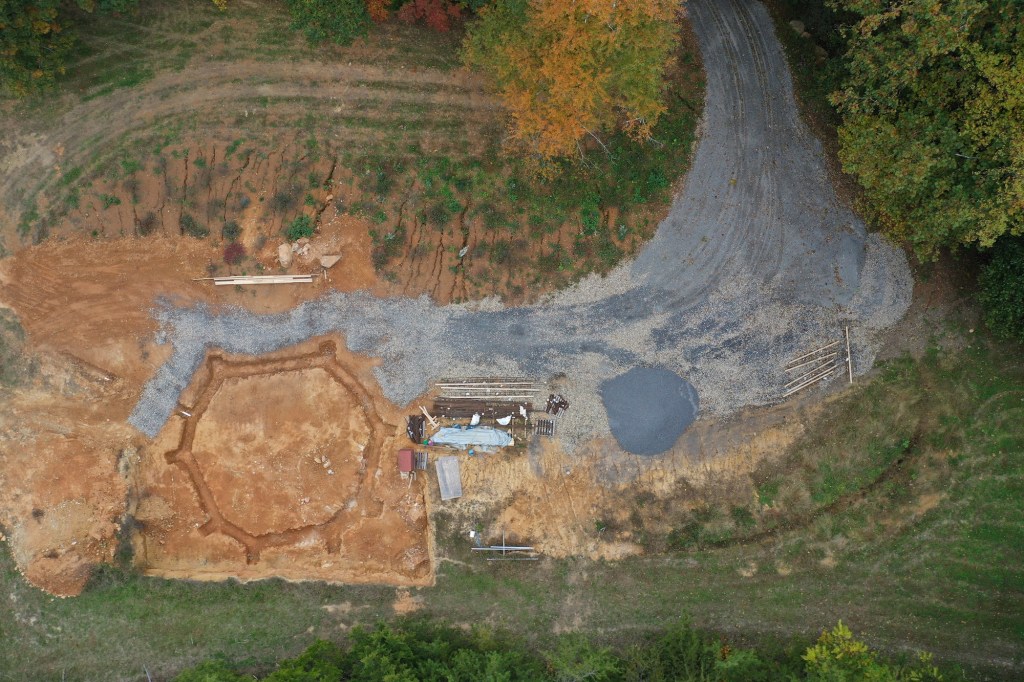
We met at the dome pad one cool March morning, and Doug gave us tips for preparing the site to speed up work for his concrete guys. The trenches had held their shape but needed manicuring. I spent 3 days shoveling and scraping out the dirt that had caved in around the sides of the footer trench over 2 winters.
Then, rain hit again, and we waited another couple months for Doug’s guys to come back. When they did, it was on.
Pouring Concrete for the Footer
A home’s footer bears and distributes the weight of the home. As if that weren’t already important enough, in the case of a geodesic dome, precise measurements for the outside footer (our decagon) are crucial. All angles have to be spot on. This is where the entire build grows up from, and if anything is out of place, the panels won’t fit together.
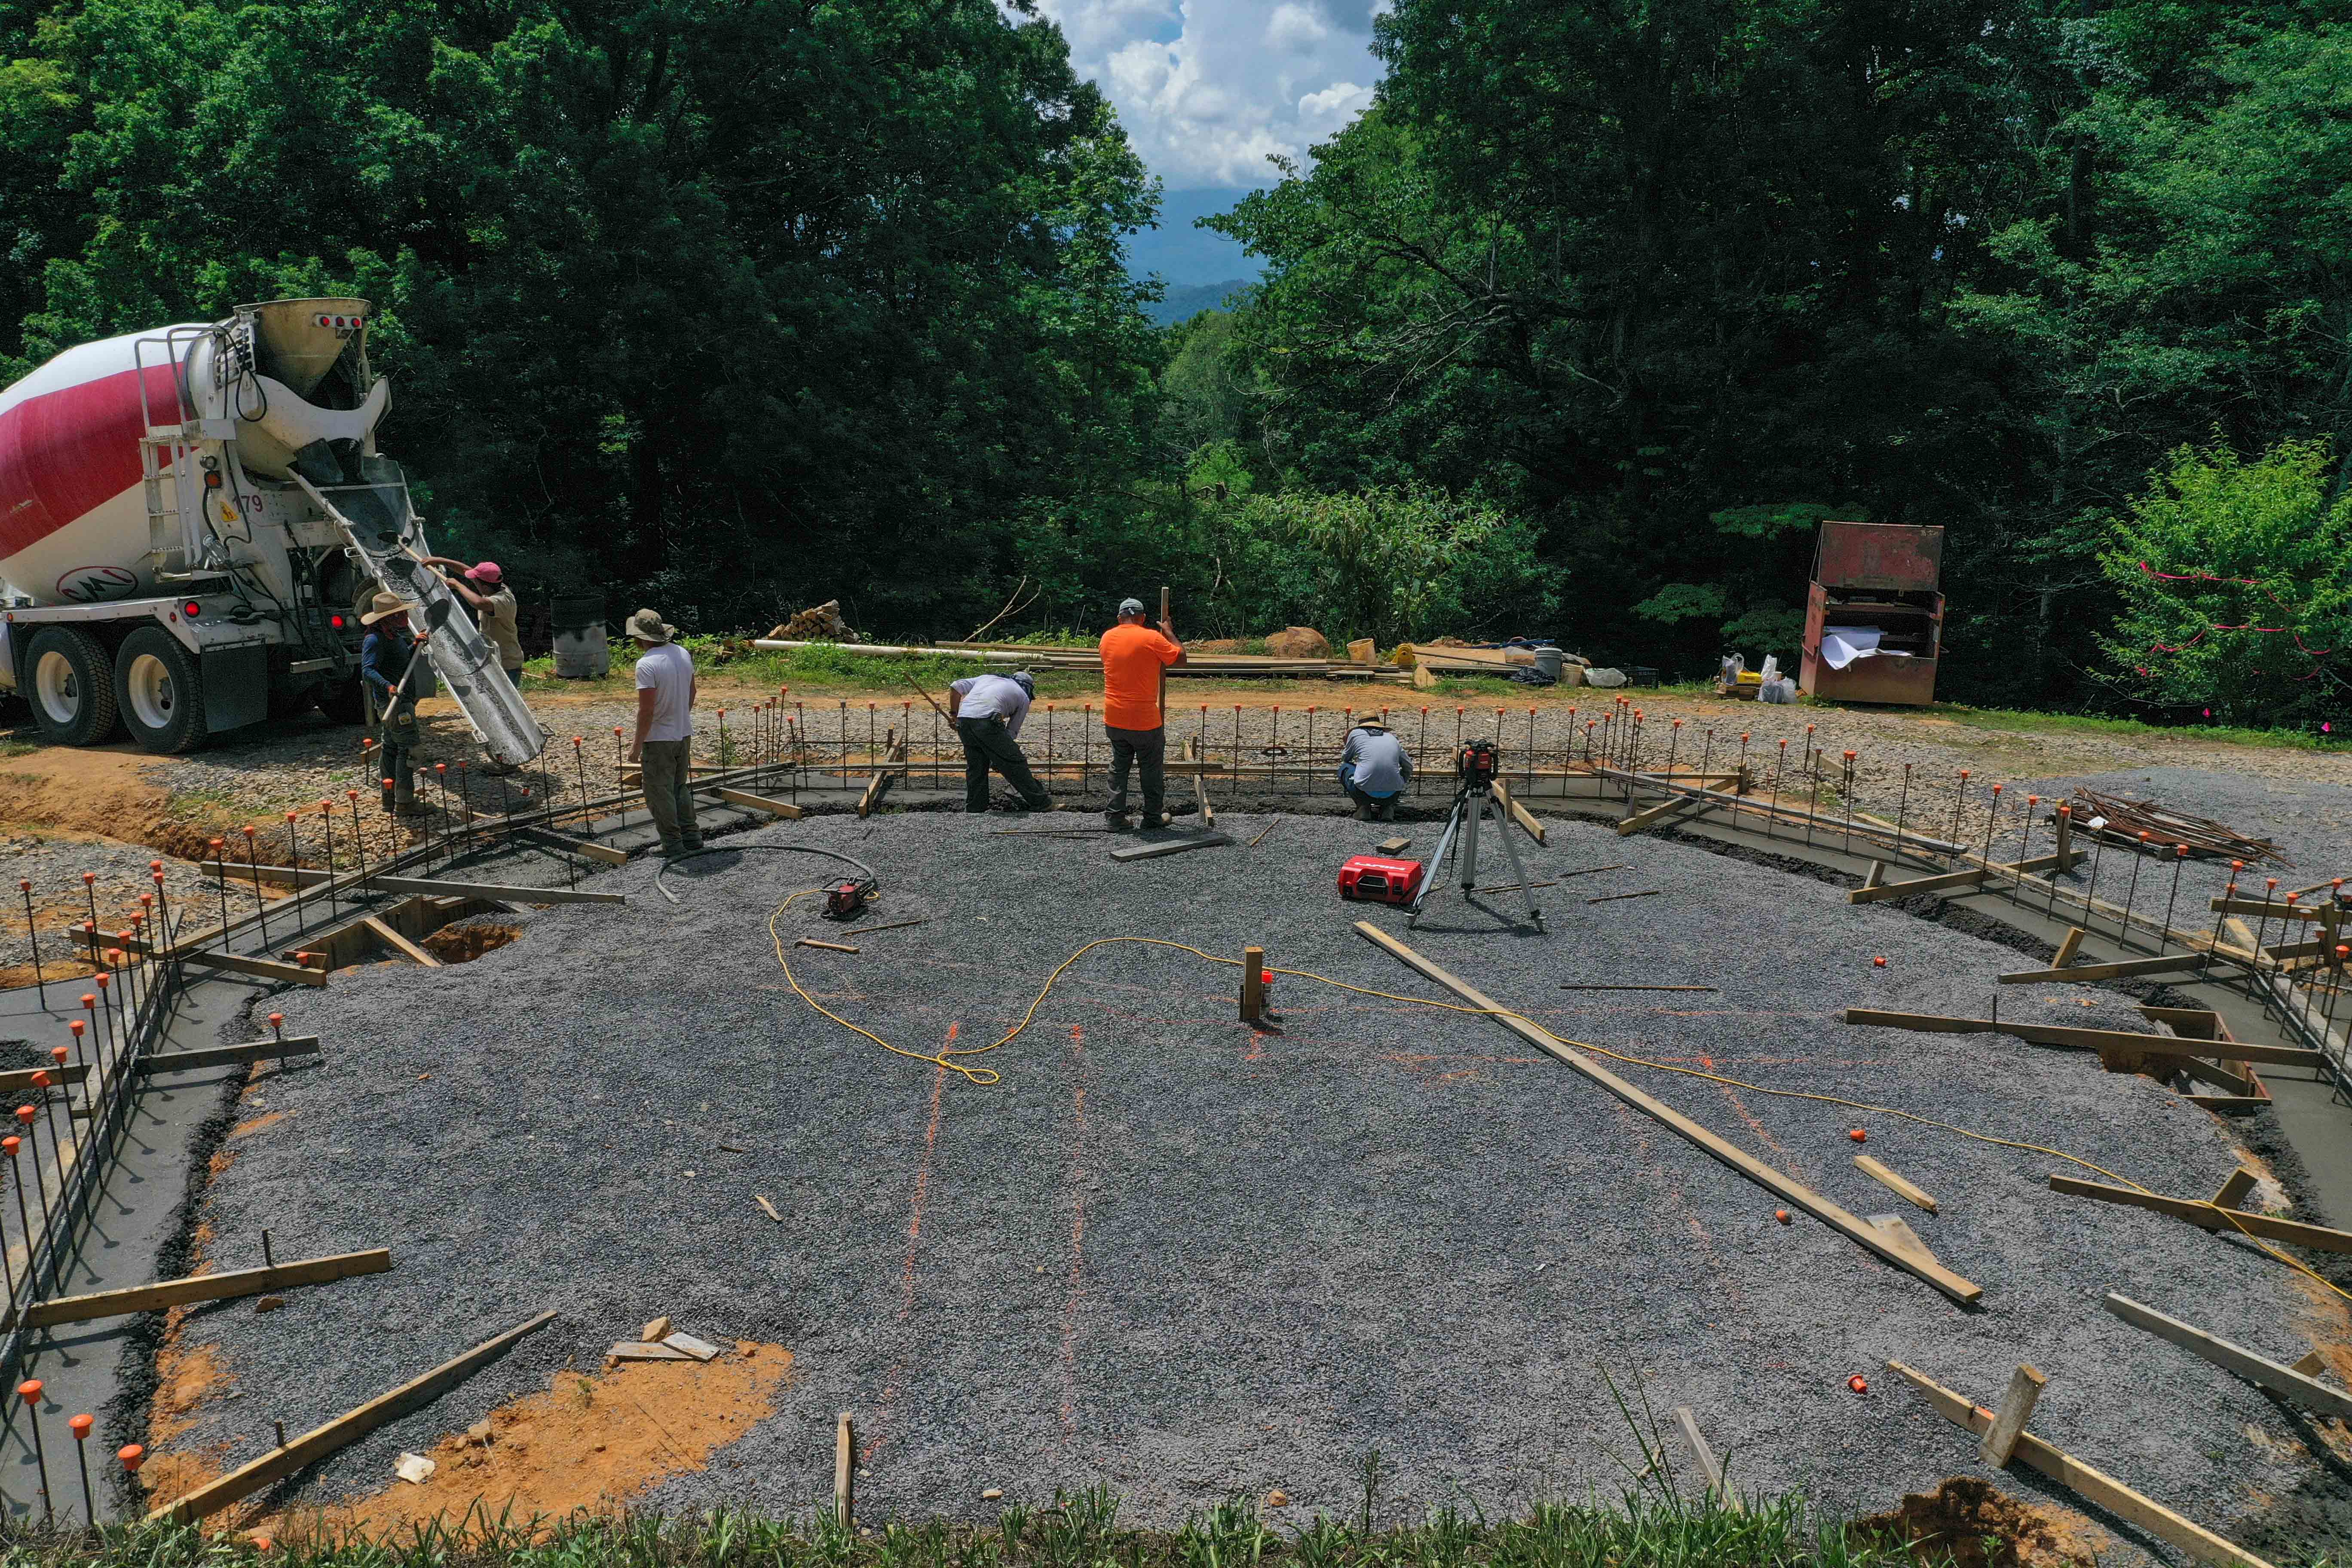
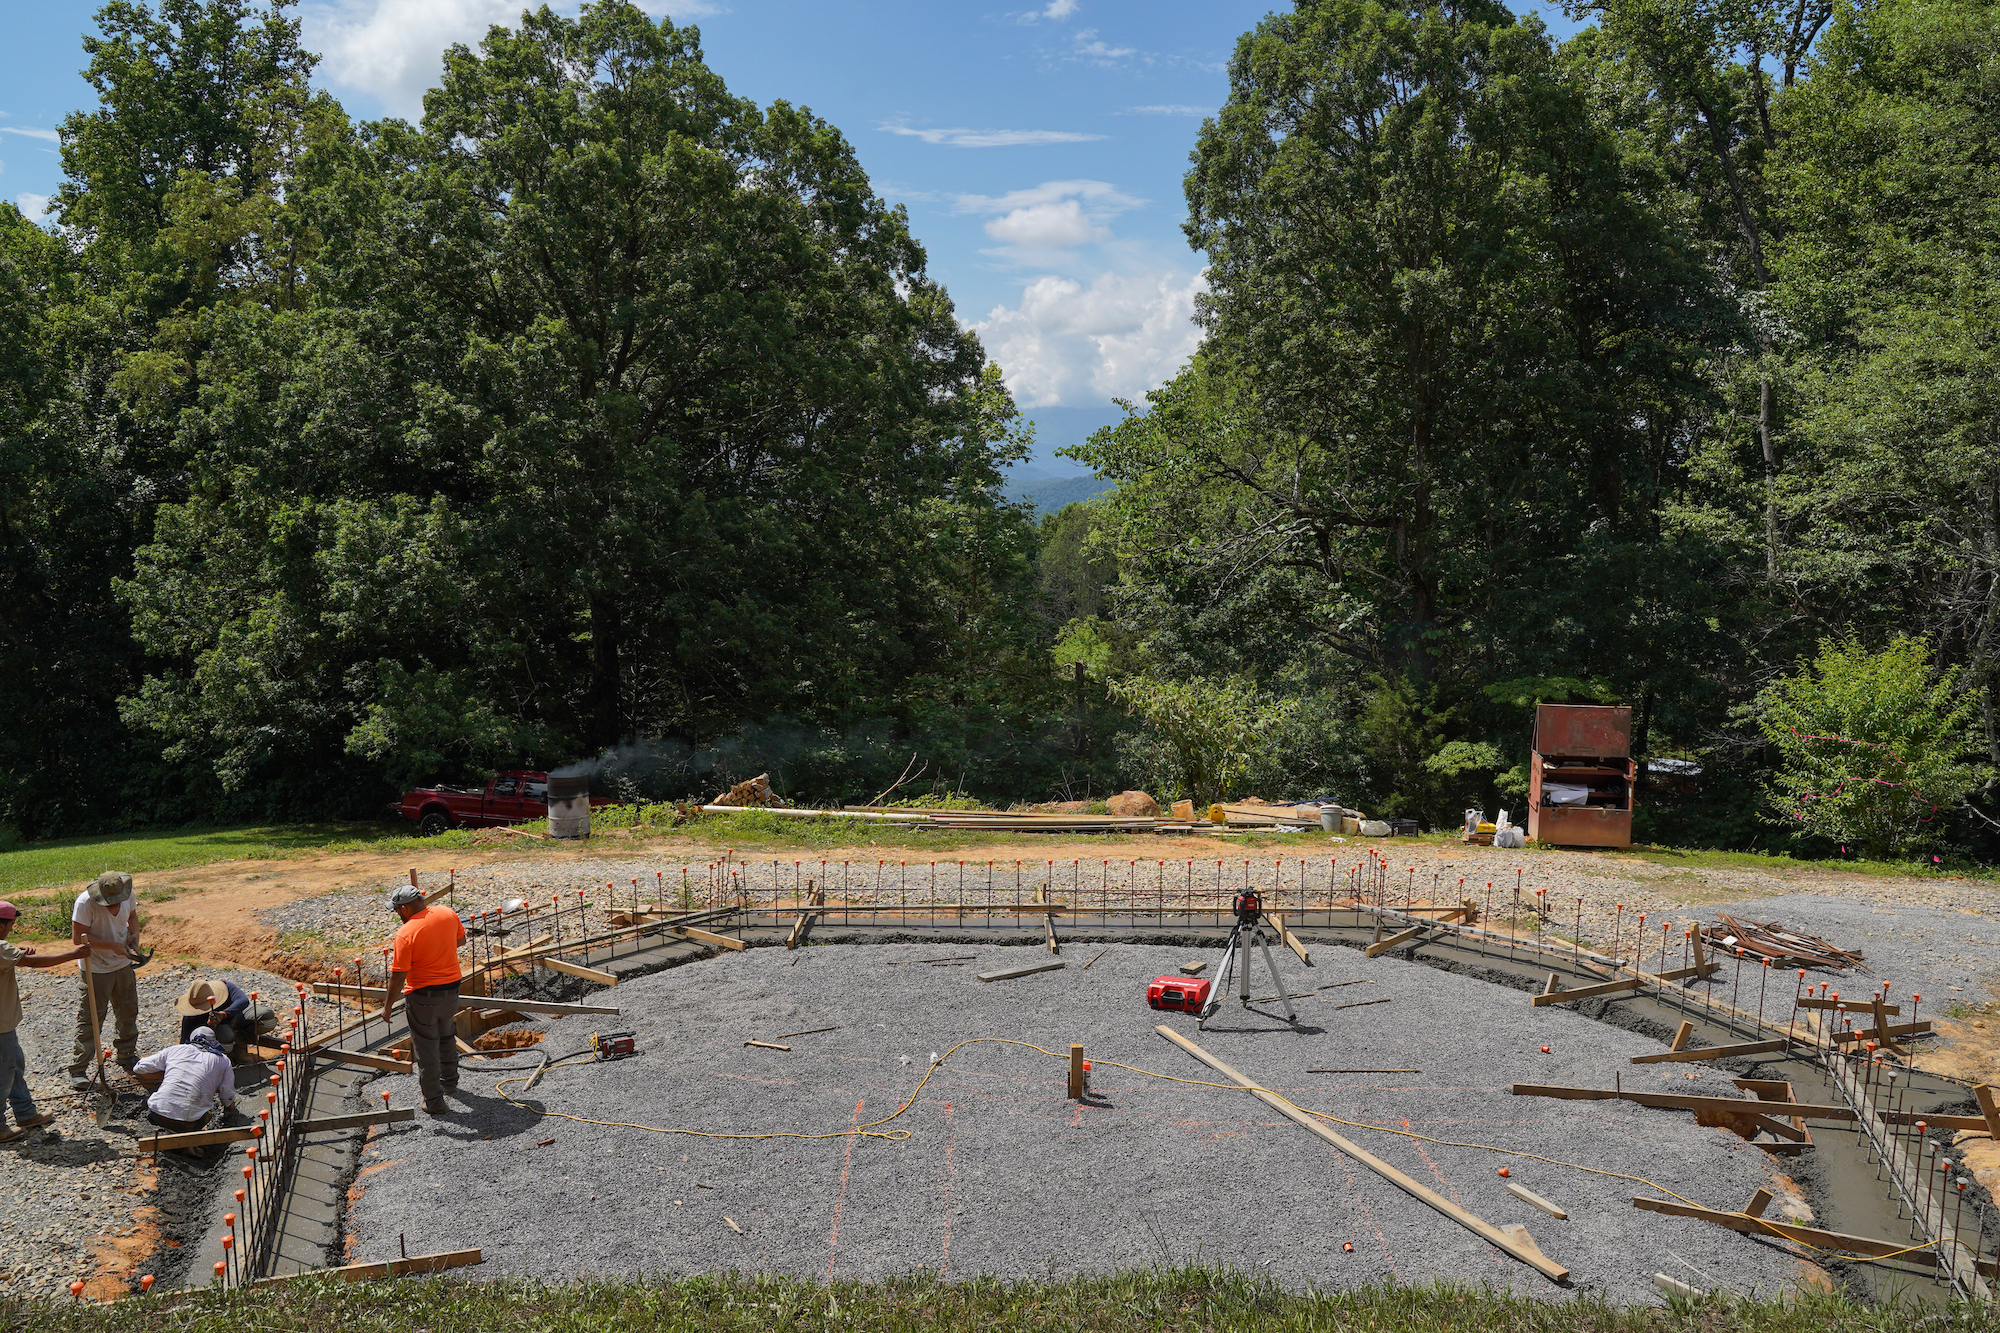
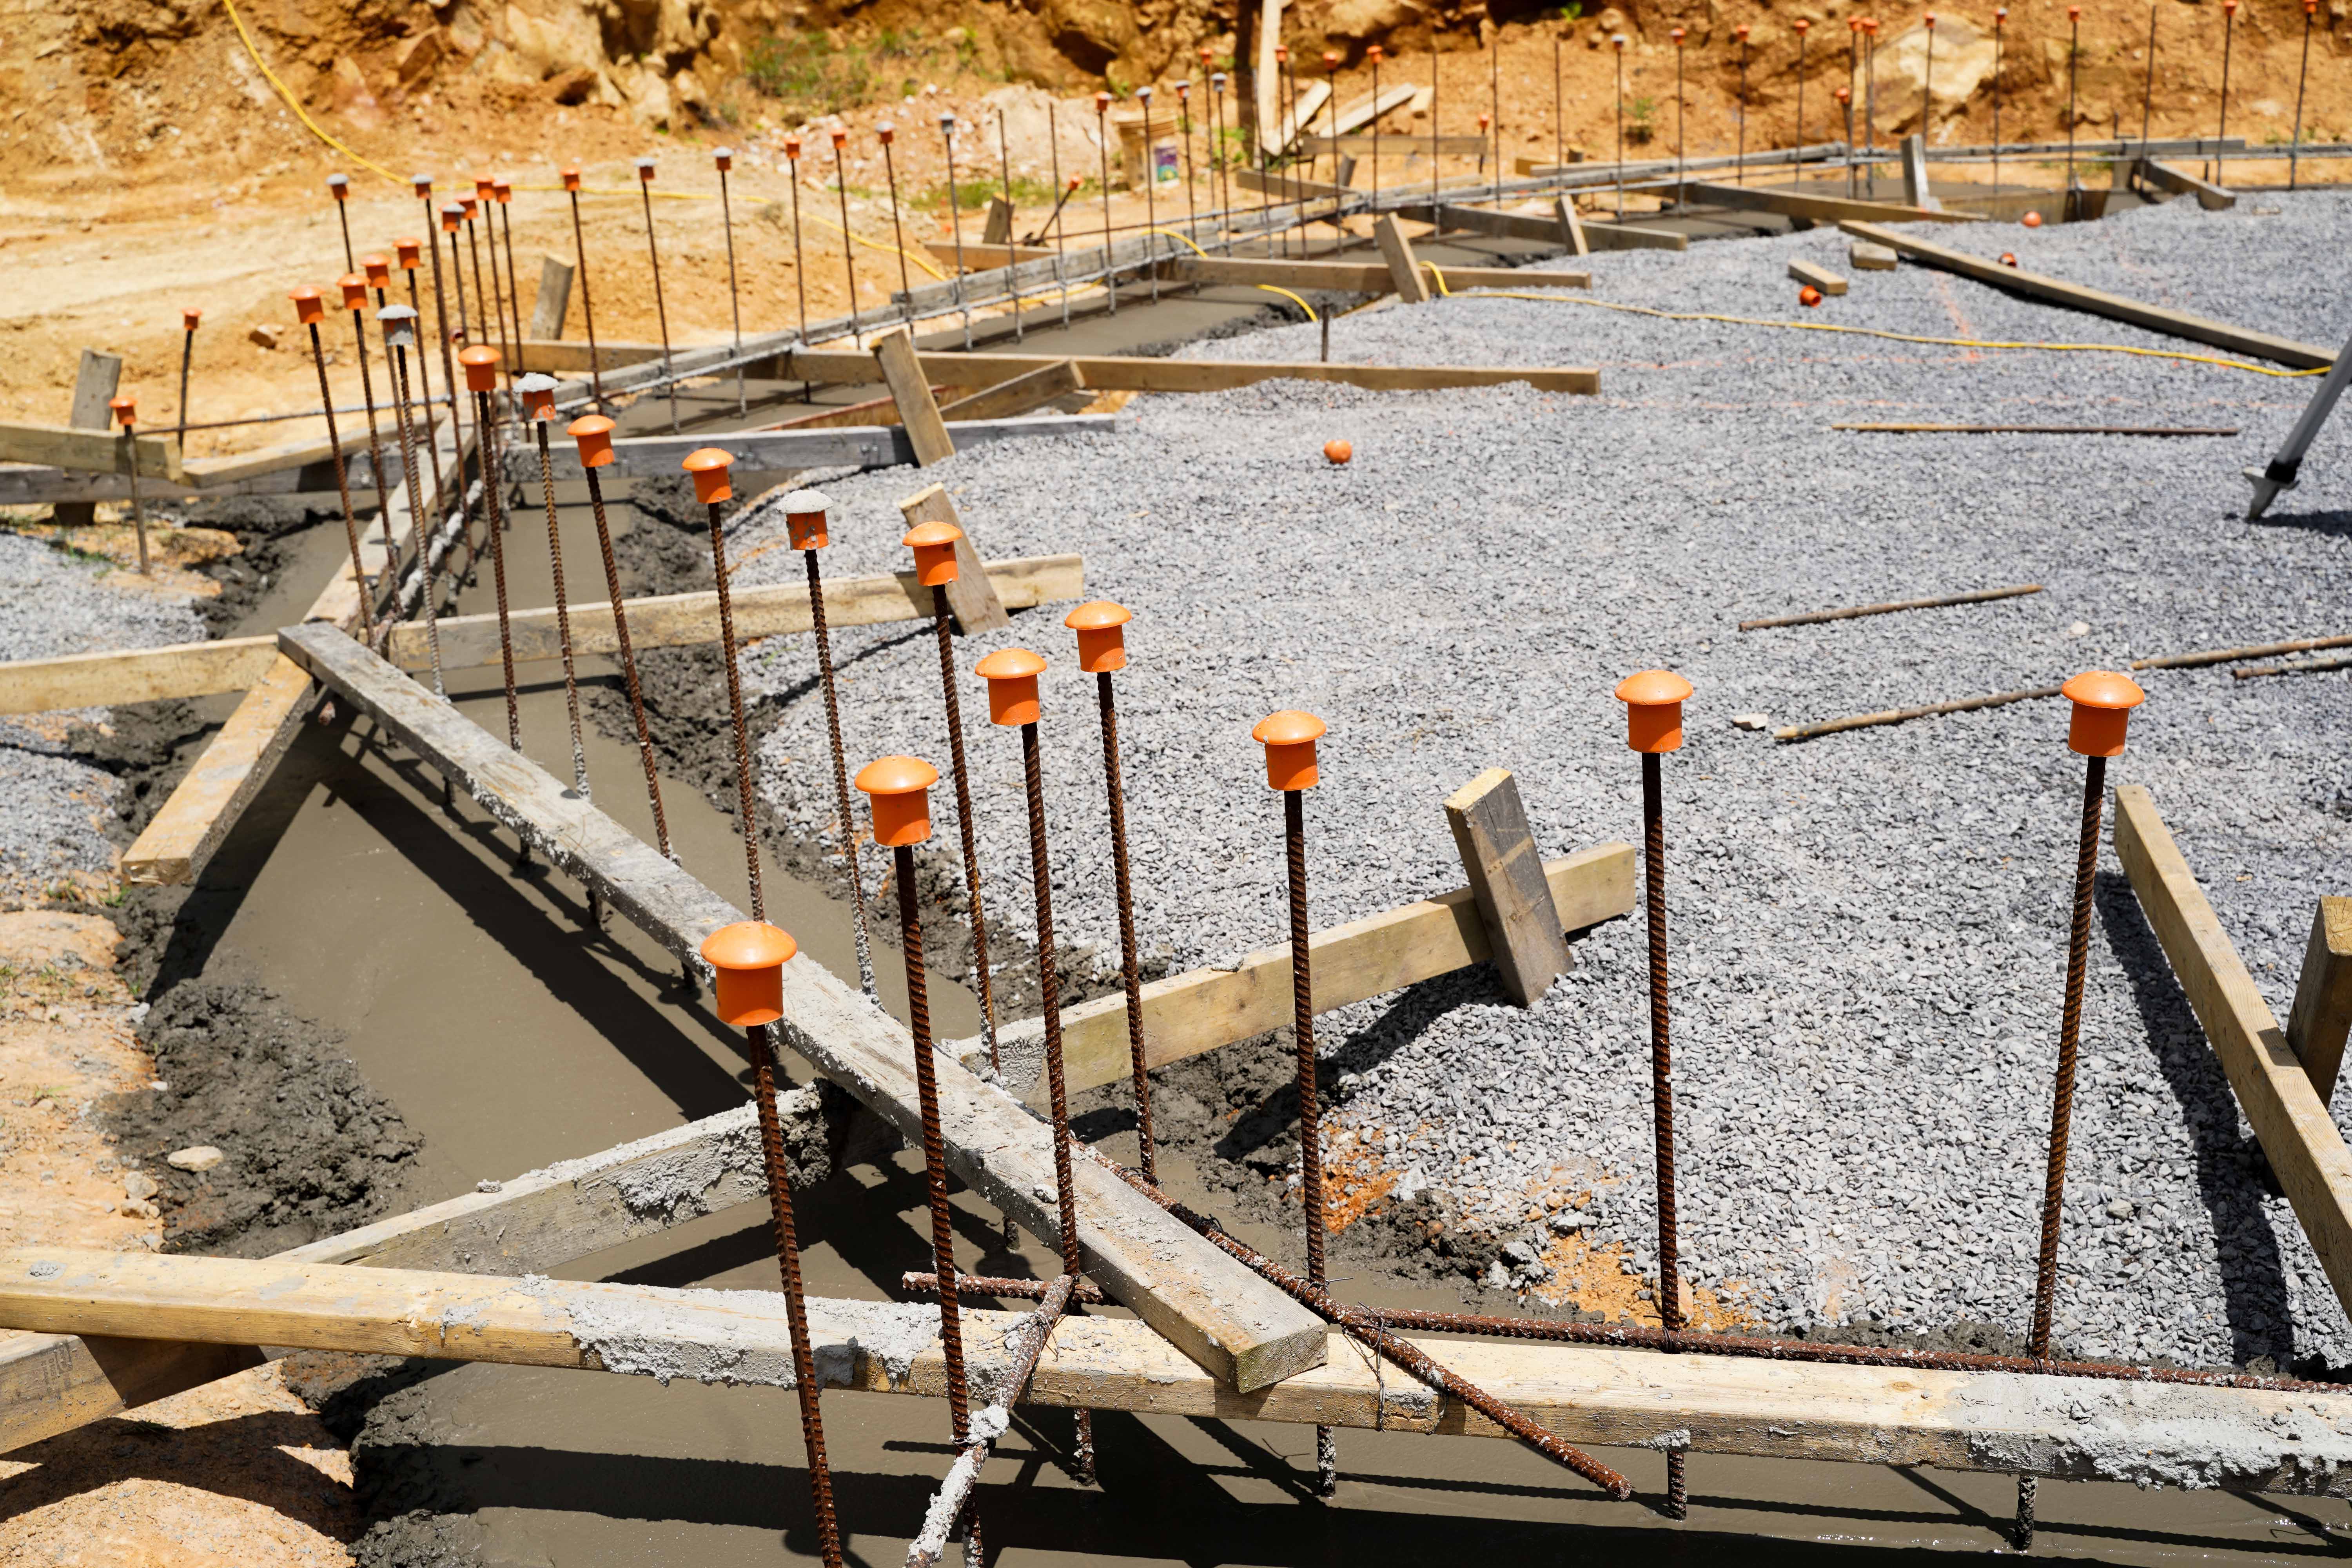
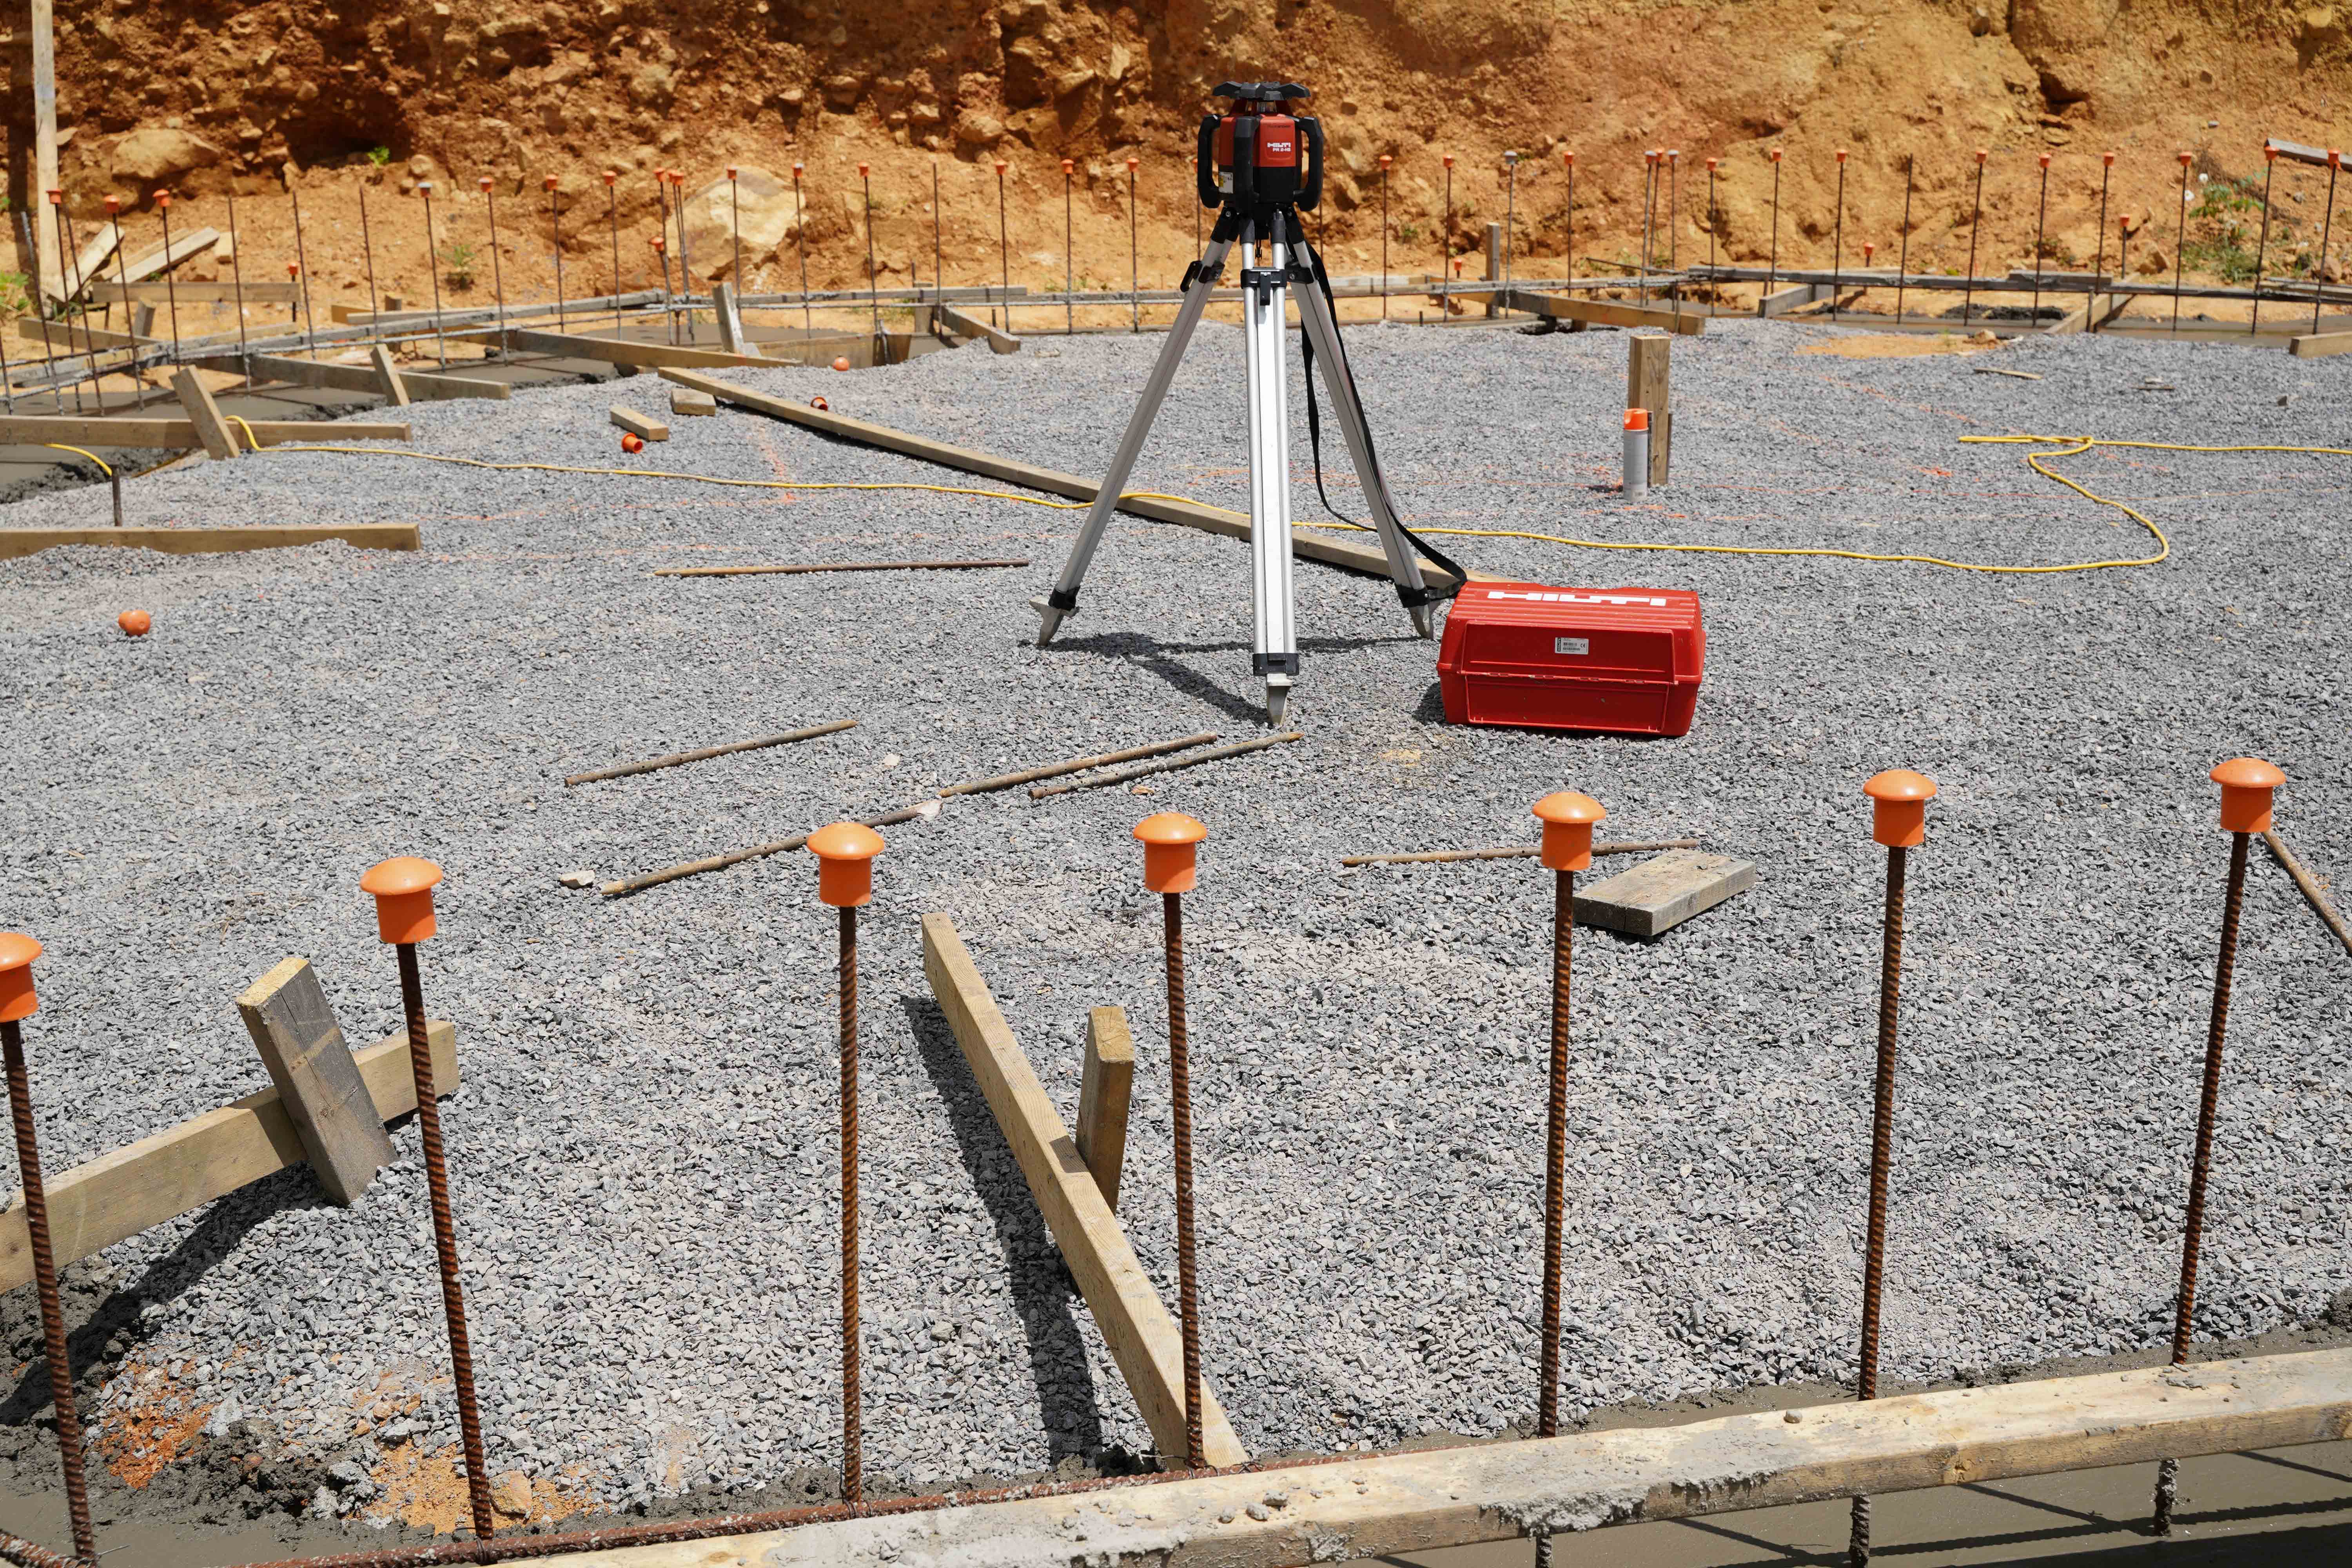
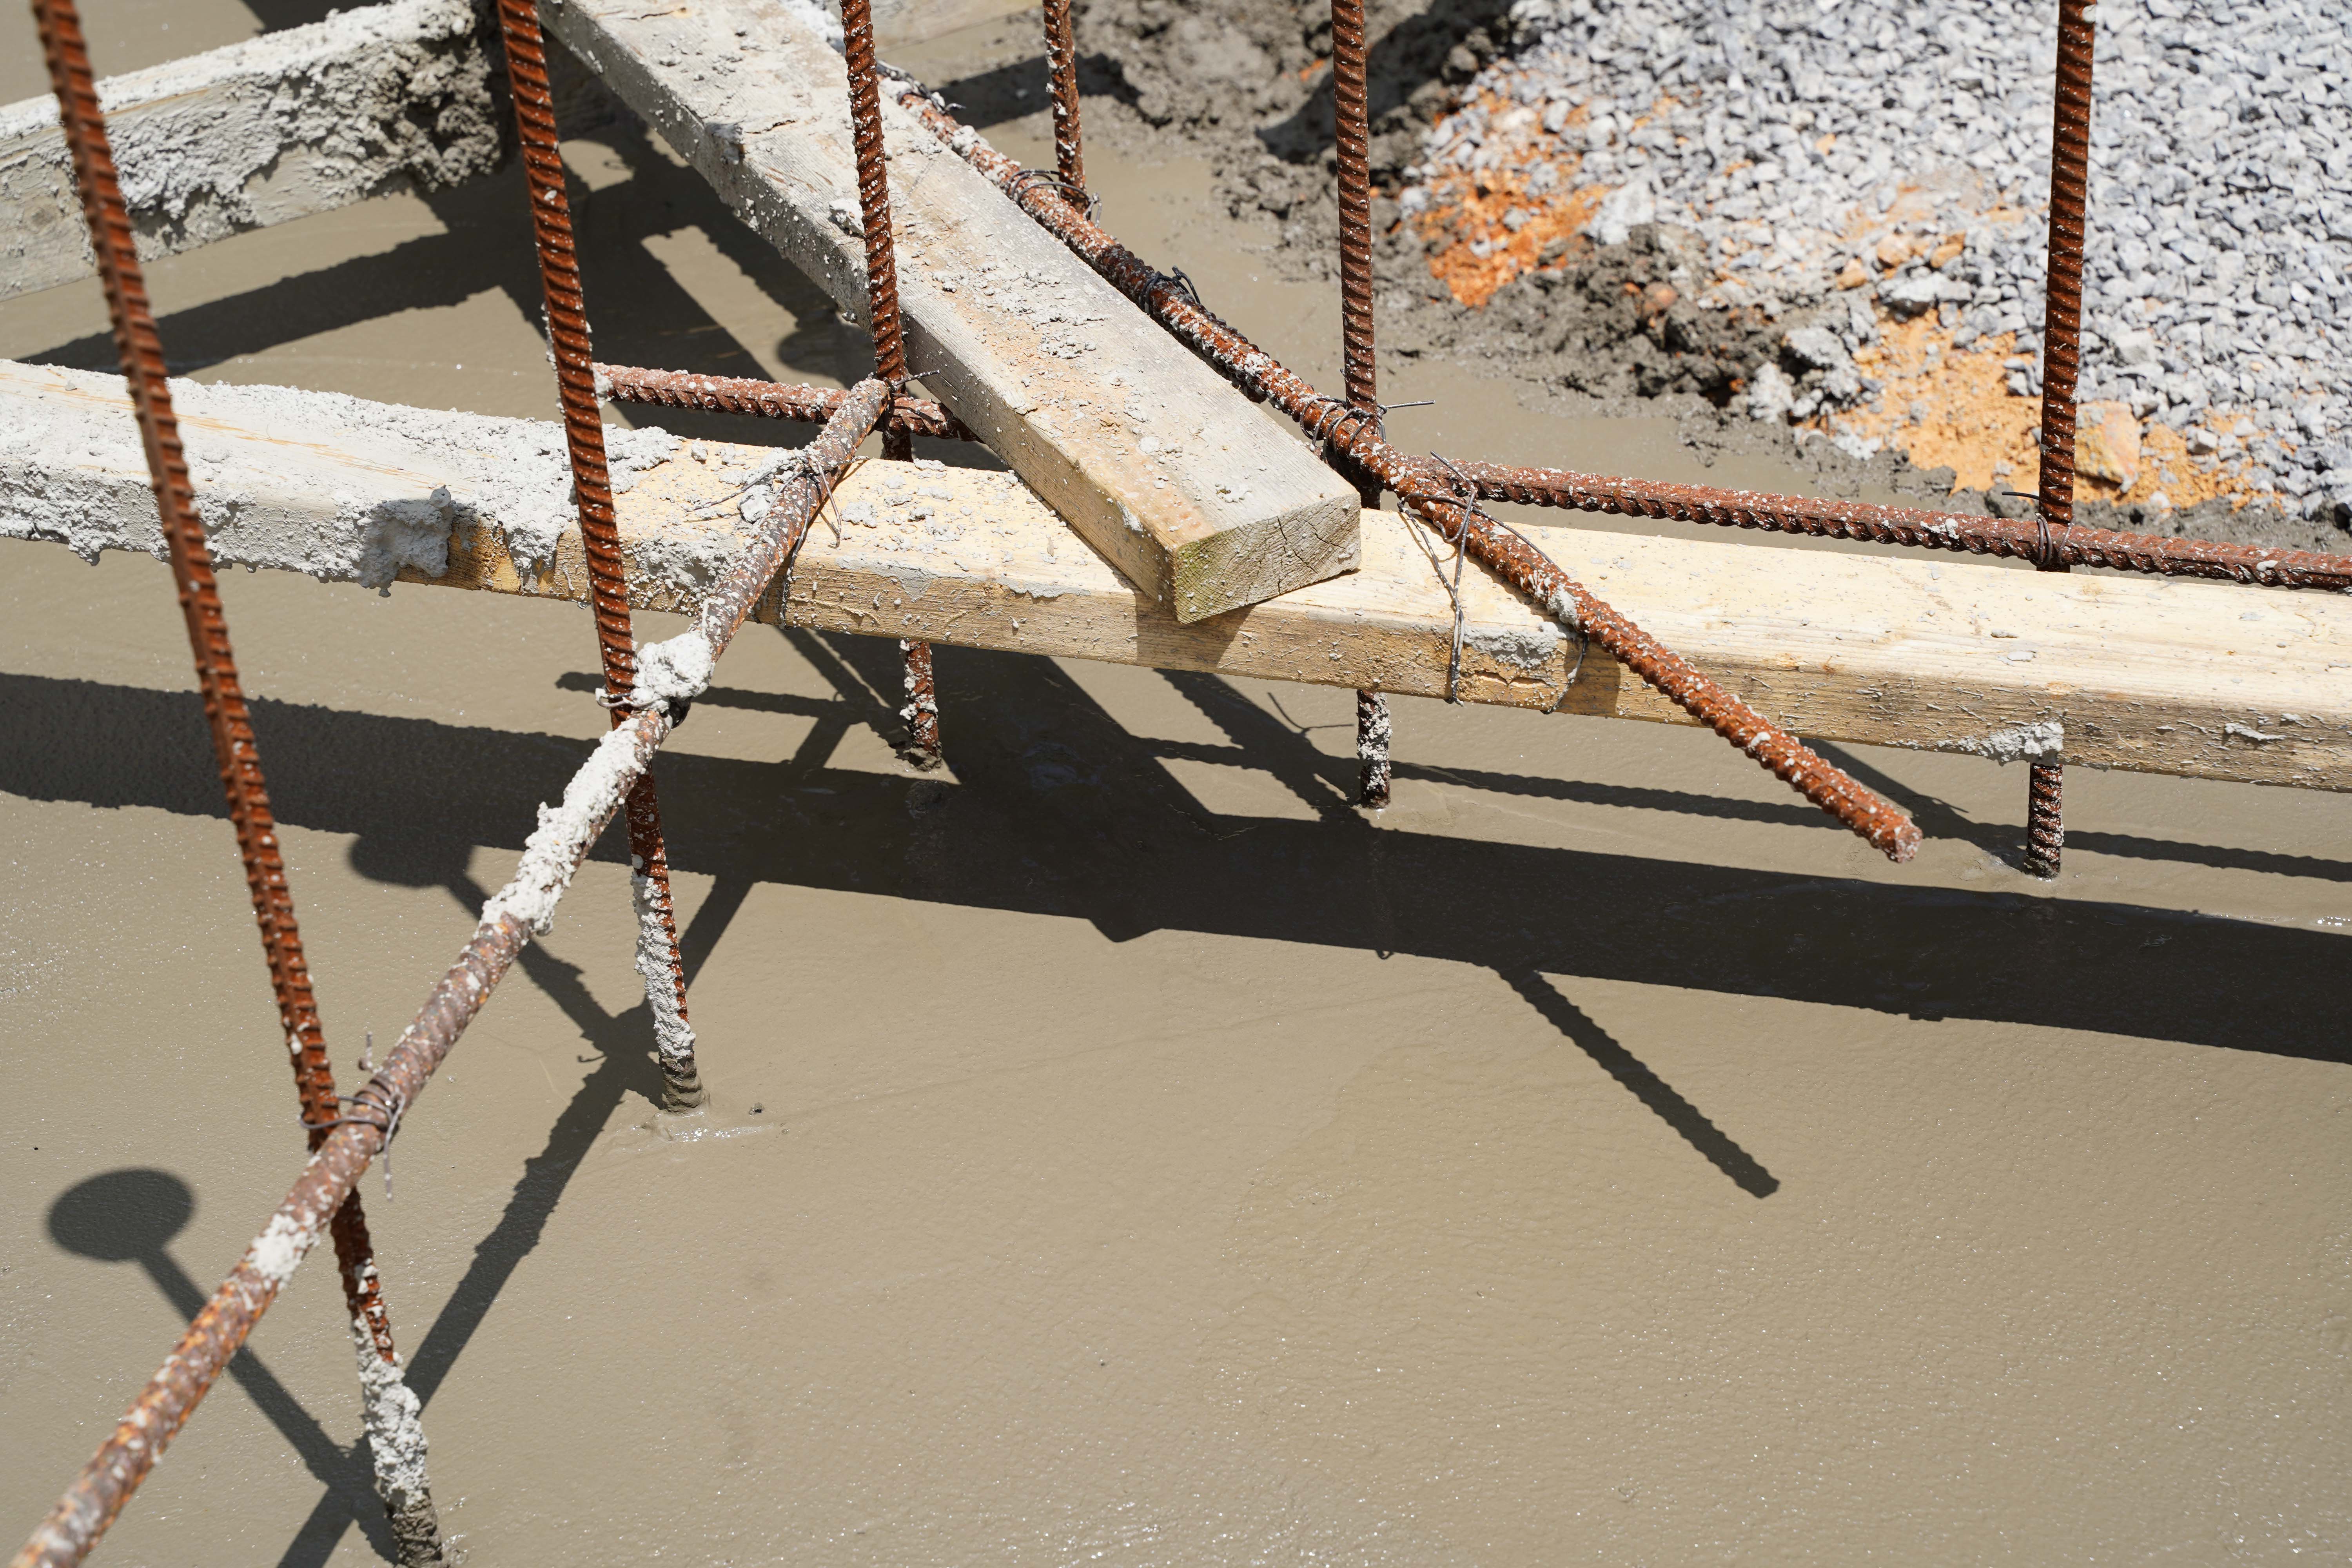
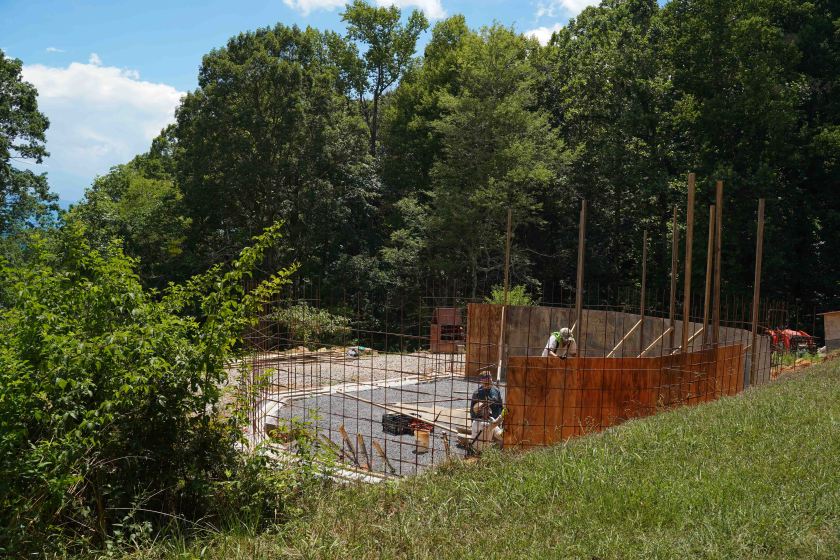
Our footer called for a lot of rebar to hold the concrete together and make everything extremely strong. Doug’s 2 concrete specialists spent a couple weeks tying rebar and placing it on 4” holders called rebar chairs. When the rebar was set just right, we were ready to pour concrete into the footer trench.

The day concrete trucks first drove up was a big day for us. It was the first permanent part of the dome to be put in place. Six of Doug’s crew arrived on-site bright and early to meet the first truck. They functioned like a well-oiled machine. It was a good reminder of why we chose to stick with Doug through 2 slow build years. We know all too well what it’s like to deal with no-shows and those last-minute discoveries of big missing pieces on the day of a big project. Doug adjusts for all of that.
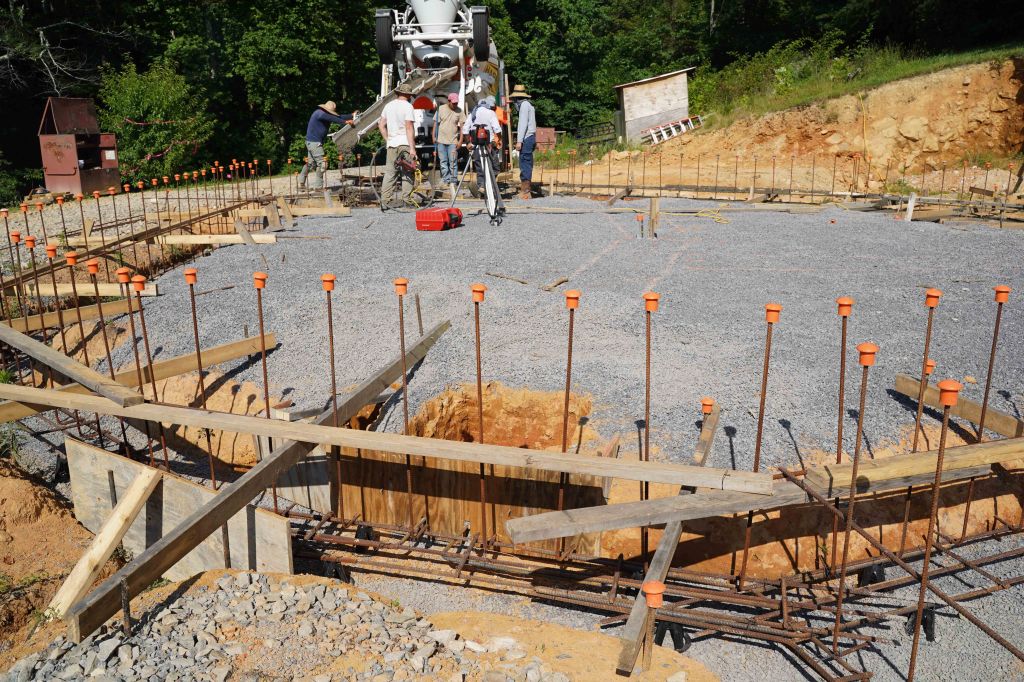
The crew poured, smoothed, and leveled tons of concrete without speaking. Right before the first concrete truck ran out of mix, the next truck pulled in, ready to continue without missing a beat. The concrete was set by the next morning.


There are other components of the interior floor to be poured in the future, but there are logistic benefits to leaving the interior floor unfinished, so we determined the next big step for us would be vertical.
Basement Walls – Building the Forms
Not every dome has a basement, and the kit doesn’t include the materials for the walls, but the kit vendor suggested 3 options: concrete block, ICF, or poured concrete. Working with block on a dome is a nightmare because so many blocks have to be cut to custom angles. ICF was ruled out because contractors around here don’t like working with it. We heard it didn’t stand up as well as concrete in Gatlinburg during the 2016 fires either. That left poured concrete.
Poured concrete would normally be way more expensive, but due to the time-consuming nature of working with angles, estimates were about the same as block but with a stronger, more versatile end result. That made the choice easy.
In all honesty, we didn’t realize what a major deal it was to add a basement to the kit, no matter what wall type we chose. It’s probably more than doubled the price of the build, which we’ll reflect on when we know more.
Part of what increased the cost is that we’ve planned a heck of a full-sized, finished basement, 10’ from finished floor to finished floor. The height creates space to hide infrastructure while still giving us 8 ½- or 9-foot ceilings. Since the floor slab will be 12” thick, we needed 11’ total wall height.
Another part of the cost was the labor to tie rebar. The dome distributes weight down its perimeter, which means the basement walls have to be extremely solid. That means rebar – so much rebar that the rebar vendor was surprised by the order. It’s tied in a 12-inch grid pattern all the way to the top of the wall.
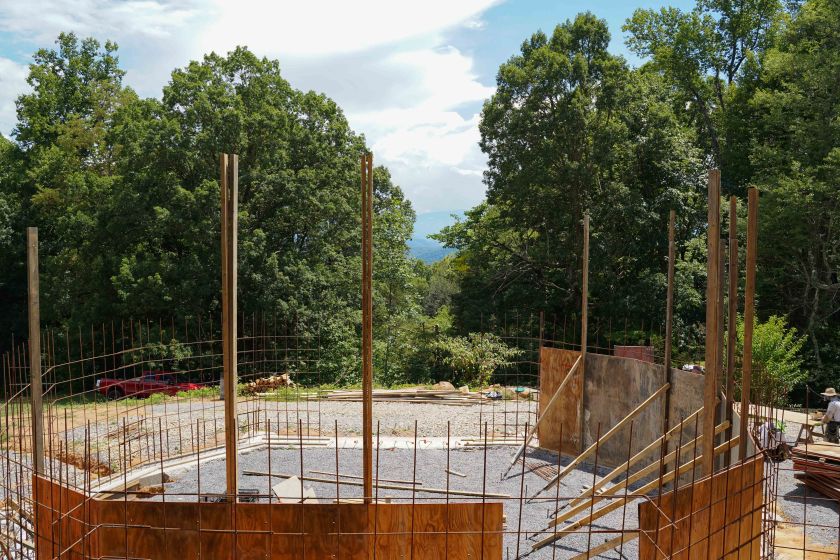
Wherever there will be poured concrete, there’s rebar tied into 1-foot squares. Doug’s concrete specialists tied in the vertical bars first, then crossed them with horizontal bars to create the squares. When they had everything tied up, they started the forms.
Oh, the forms. They’re the molds that you pour concrete into and have been the last major part of the cost.
For some builds, you can rent forms at a reasonable cost, and that’s what we thought we’d be doing, but the shape of the house made that impossible. We had to go old-school and build the forms out of plywood.
Luckily Doug had collected and cleaned braces and pre-drilled, 8’x4’ plywood from a previous project. This saved thousands of dollars, especially because the cost of wood shot up over the summer to something like 150% above normal.
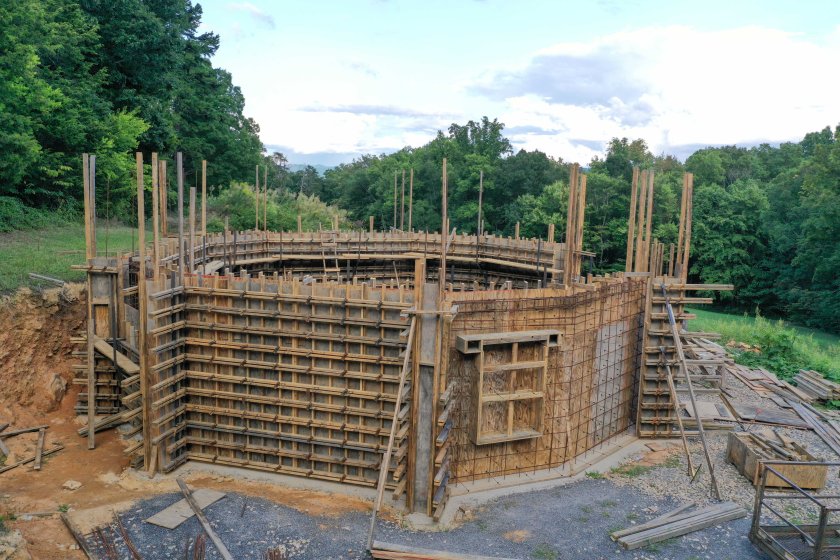
The wooden forms turned into a 2-month affair and were a little bit of a masterpiece for Doug’s concrete specialists.

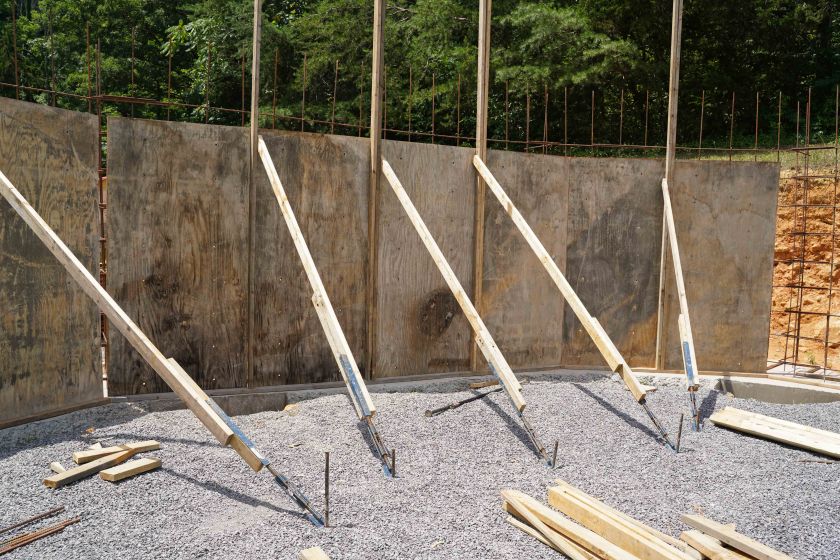
The problem with plywood is it isn’t very strong and will bow with any kind of weight…like from concrete. To ensure that the concrete didn’t blow out the plywood come pour day, a massive network of bracing had to be cut to size and installed along the inner and outer wall forms.

The guys started with 16’, 2x4s vertically placed 12” apart along every wall. Then they cut and built walers. Walers are beams used for bracing in construction. These were 2, 2x4s cut to length with 3-4 pieces of ¾” plywood in between. This creates a double 2×4 with a space in between. The walers are placed horizontally 12” apart on the outside of the vertical 2x4s.
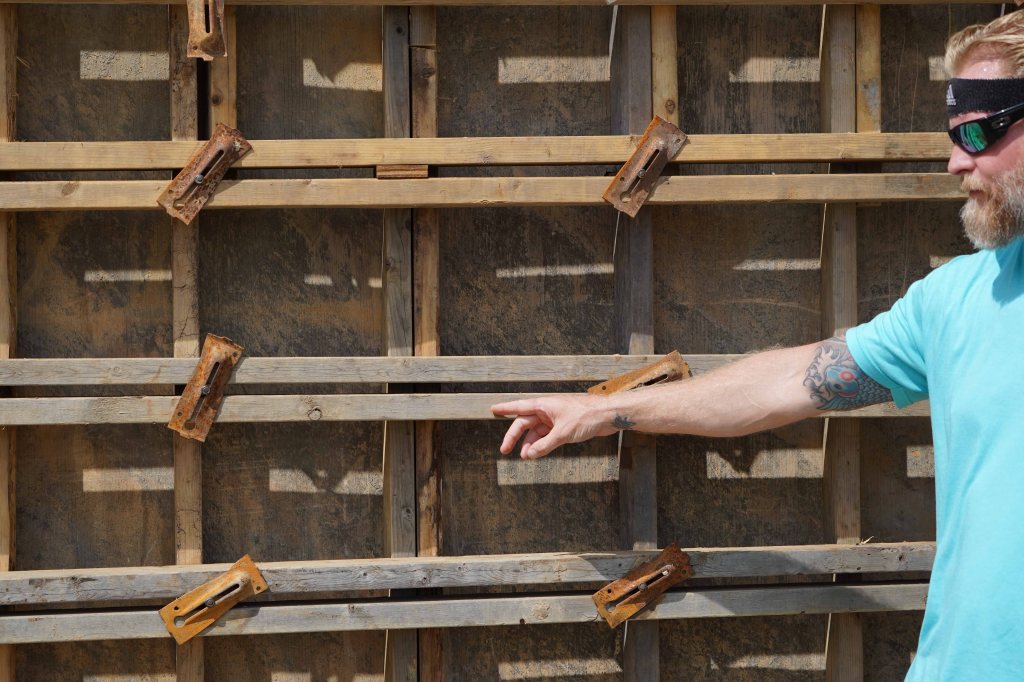
This once again creates 1’ squares all the way around the forms, like with the rebar. The walers are tightened into place with metal plates called hairpins.

Each piece of plywood has holes drilled so long-tail wall ties can be placed through for even more support.

The crazy thing about this whole process is after the concrete has been poured, all of this will be torn down and hauled off.

Penetrations have to be made for any windows, doors, wiring, venting, or plumbing through the walls. Luckily we planned this house 3 years ago and were fairly ready for this step, but we still had to figure out exact dimensions of the windows and exterior doors, which meant it was time to plan those for the entire dome. Even if we won’t need doors or windows on site for 6 months or more, to create a consistent look on the exterior, we wanted windows to be the same brand with the same trim on every floor.
We packed lunch and a set of dome plans and drove to the next county to sit down with the same family-run window vendor who helped us with barnbungalow. Afterwards, we had a list of window-related questions to answer, like what size window could fit over the kitchen sink and how many inches we needed in between exterior doors for light switches and fixtures. Doug had the guys build us a set of templates that made it so much easier to choose window sizes.

Beth worked on a window/exterior door take-off for a week and sent it to the vendor to quote out. In the meantime, the vendor gave us the all-important “rough opening” dimensions for one, large window in the basement wall, overlooking a future garden area, that would need to be accounted for when pouring the concrete. The rebar was removed from that area and a wooden box built to keep concrete out. Extra rebar was placed on top and space left for headers to be installed to support the future window.
Next we had to talk plumbing. Penetrations needed to be made for the well pipes, septic, outdoor shower, venting of washer/dryer and septic. Like always, prior proper planning saves money. Otherwise we’d have to drill holes through the concrete to put all the plumbing in place.
Then it was time to work on electric. Conduit (piping) is placed into the walls for wiring to outlets and switches. Sockets and switch boxes are accounted for so they’ll end up flush with the concrete wall. It’s hard to know where we want everything before we even have walls, but with a lot of thought, we knew we could get it right enough. Building barnbungalow helped us better understand what is and isn’t possible with electric.
Not only that, a couple years ago, Beth created a 32-page “switching” document that illustrates our vision of the interior of the dome, so we were able to refer to that. This level of planning creates a much cleaner look than having switch boxes and conduit mounted on top of the wall.
We decided to use a 20-foot metal beam over the basement’s walk-in entry instead of pouring a thick layer of concrete. This will save money in man hours and create a super strong 18’ opening, with double doors flanked by windows to bring lots of light in. That opening will be framed normally with lumber, which will give us more time to think about the placement of lights and switches. Lumber is more flexible than concrete!
After months of impressive carpentry to create the forms, we were ready to pour the walls. In the last weeks before the pour, the crew worked long days, including Saturdays and Labor Day. They planned the logistics of where to position the pump trucks and how to rotate the concrete trucks to the site. They tested every brace and made sure the forms were completely buttoned up. Doug could probably tell you about 100 other things he did to prepare.
Like with the dome-kit delivery, the pour was rescheduled because of hurricane season. A few days after Sally blew through, we heard trucks coming up the gravel driveway at 6 a.m. Pour day had begun.

One comment