
by Beth
After months of preparation of rebar and forms to shape our concrete basement walls, the day of the concrete pour finally arrived.
And was canceled due to Hurricane Sally and rescheduled early the following week.
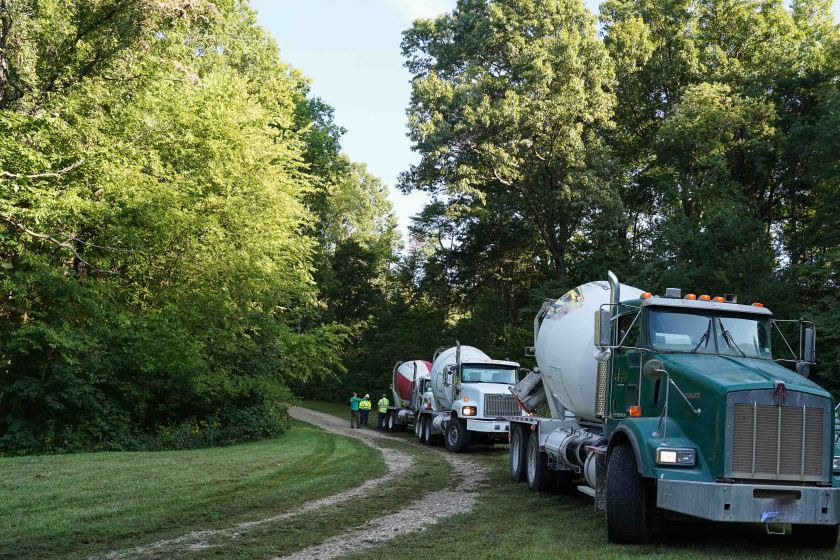
The morning of the real pour day, temperatures were in the high 40s as a convoy of vehicles started to roll past barnbungalow up to the dome site at 6 a.m. Most days, work didn’t start until 7, so we weren’t expecting the early start, but that’s how Doug runs things: he wanted his team and the site completely ready for the pour to start.
At 7:25, minutes before sunrise, the first concrete truck rumbled onto the scene, spinning its butt to mix all the components of the concrete inside. Doug scheduled the trucks to arrive every 20 minutes, but he had them add “plasticizer” to the concrete mix in case there was a hitch and the trucks had to wait. Plasticizer keeps the concrete from hardening up.
This was good, since the very first load had a big river rock that had to be dug out of the pump truck assembly. There were no more hold-ups after that, but for the rest of the morning, twirling concrete trucks formed a line up the driveway. By the time I followed the first truck up to the site, the sun was shining, the temperature was warmer, and the pour was in full swing.
I asked Doug about his main concerns for the day, and he said he just wanted to make sure the forms held and that no concrete trucks tipped over on their drive up the mountain. I immediately wished I hadn’t asked.

Doug explained how the concrete flowed into a pump that pushed the mix out of a hose. One guy carried the hose around the top of the forms, filling the walls in horizontal layers. Another carried a mixer to dip into the concrete to help it settle evenly.
As each horizontal layer started to harden, it increased the strength of the structure to accommodate the additional weight of the next load of concrete.
Other crew were assigned to watch for bowing or vulnerabilities in the wood. They wandered around, banging the forms with hammers to check for hollow spots in the concrete as it settled in.
A person from a geotechnical firm came to take core samples. These would be tested to make sure every load of the concrete contained the right mix and to see how quickly it was hardening so we knew when the walls were strong enough to begin to bear the weight of the dome kit.

The day went beautifully. The forms held their shape as approximately 50 cubic yards of concrete was poured in, and most of the drivers made it up the steep driveway, in reverse, on the first try.
A couple days afterward, Beta brought another few inches of rain, so we were glad to have the pour completed. The following week, with the sun back out, test results came in that the concrete was already setting above its projected PSI. It was time to begin dismantling the masterpiece of forms and see what the wall looked like underneath. Here it is by the time Delta rolled through.

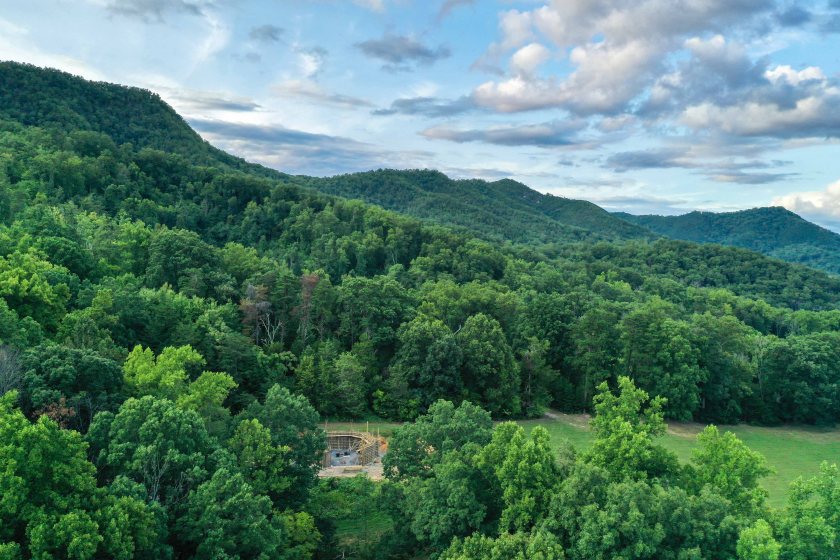
These days, we’re talking about how to put the shell up. There are plenty of tasks to be completed to surface and waterproof the walls, but the next major step is the dome-shaped rib system, made of 2x4s, to hold triangle dome panels in a precise pattern so we can link and cement them together.
After the panels are bonded into one piece, the structure will hold itself up and the ribs can come down. But before the shell is one piece, the separate panels are each fragile and weigh 200 or more pounds per piece. The ribs will require a lot of bracing to hold the heavy panels, and it’s not clear how to best accomplish that.

AWESOME!!!!!!!!!!!!!!!!!!!!!!!!!!!!!
LikeLiked by 1 person
🙂 🙂 🙂
LikeLike
Fan-tastic!
LikeLiked by 1 person
Truly fascinating reading. I look forward to seeing the final project when traveling finally again becomes possible.
LikeLiked by 1 person
The form is/was amazing. When we visited this summer and it was just plywood propped up I was wondering how the heck it would hold. Boy was I naive.
LikeLiked by 1 person