
by Beth & Chris
Status update: we’re ready to build the dome. We waited patiently all winter, the winter that wouldn’t end, for spring and “building weather.” It’s here. We’re ready.
Unfortunately, so are a lot of people, and some of them use our excavators. We’re all jockeying for the same precious time, so Chris maintained diligent contact until we finally landed on the excavators’ schedule a few weeks ago.
Our remaining to-do list for them was short: fix up the driveway so construction trucks can reach the housepad, and break up some pesky rocks so we can pour the foundation.
Think Positive: Winter Rocks
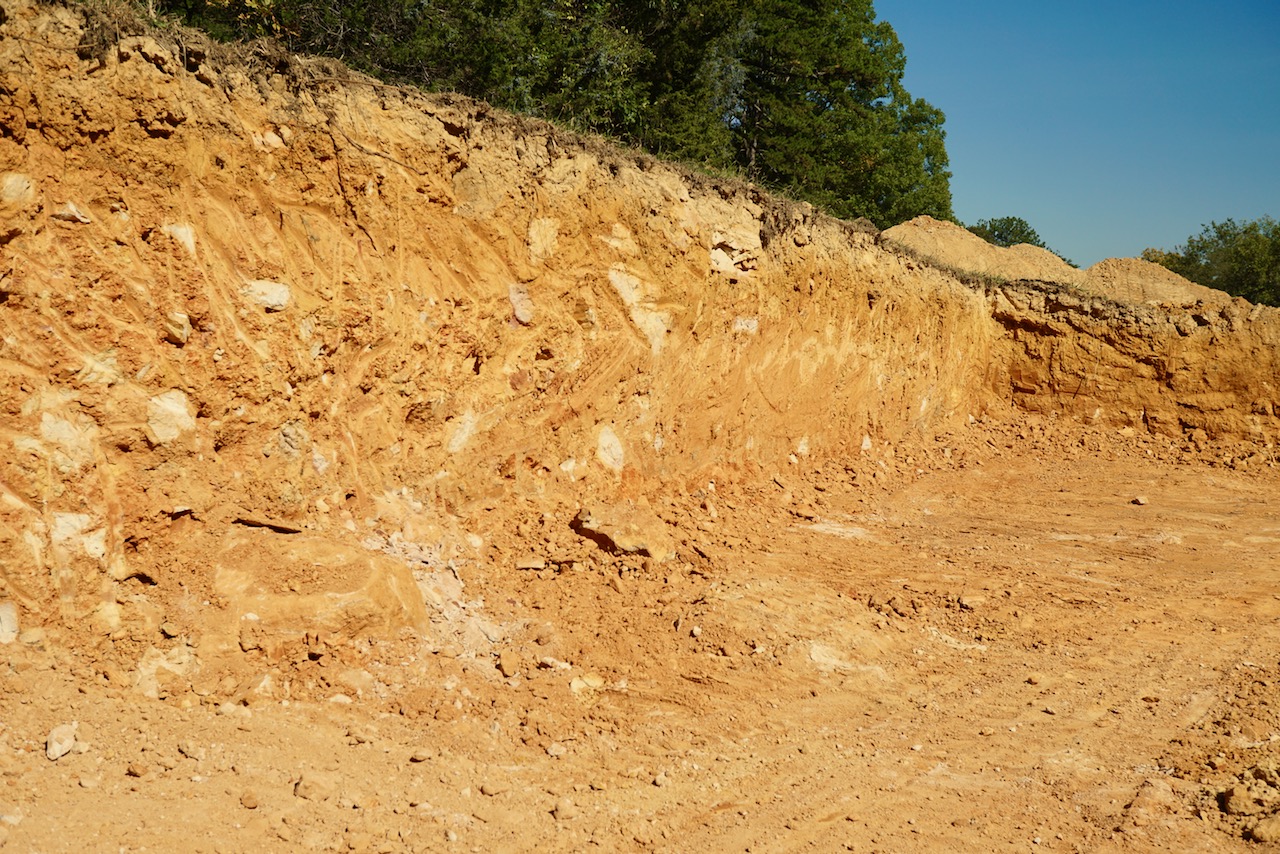
When we decided to dig 8′ into the mountain (instead of digging a shallow foundation and building a precariously tall dome), we knew there was a risk of hitting big rocks. Rock removal is expensive, and you can’t leave rocks in your foundation site. It settles at a different rate than concrete, which causes foundation cracks.
If you’ve not thought about the bones of a house, know that foundation cracks are bad. Cracks and other foundation mistakes can compromise the entire structure and are insanely costly to fix. So, expensive or not, any rocks in the site would have to go.
Fortunately, most of the red sandstone yielded to 8′ easily. It was pretty, too. There were only a handful of problem rocks.
Our excavators said they’d be back for the rocks with a special hammer attachment – and an hourly rate that made us a little queasy when paired with zero estimate of how long the rock hammering would take. Rocks are unpredictable.
If we’re going to enjoy this experience, we have to embrace unpredictability and flexibility. The opposite approach, to obsess over worst-case scenarios, causes unhappiness.
That’s easier said than done, but we had plenty of time to commit to an attitude of flexibility during 3 more months of hard winter, as we waited for the guys to bring their hammer. Three months was a good amount of time to get sick of obsessing over anything. Would it cost a few hundred or a few thousand to clear the rock out of the housepad? Pour a glass of who-cares and toast to uncertainty. The build has to move forward.
Stop Hammer Time
Which is to say that, even though we were busy not obsessing over that hourly rate on the morning the guys showed up to hammer the rock, we were stoked when they called 4 hours later to say they were finished with the hammer.
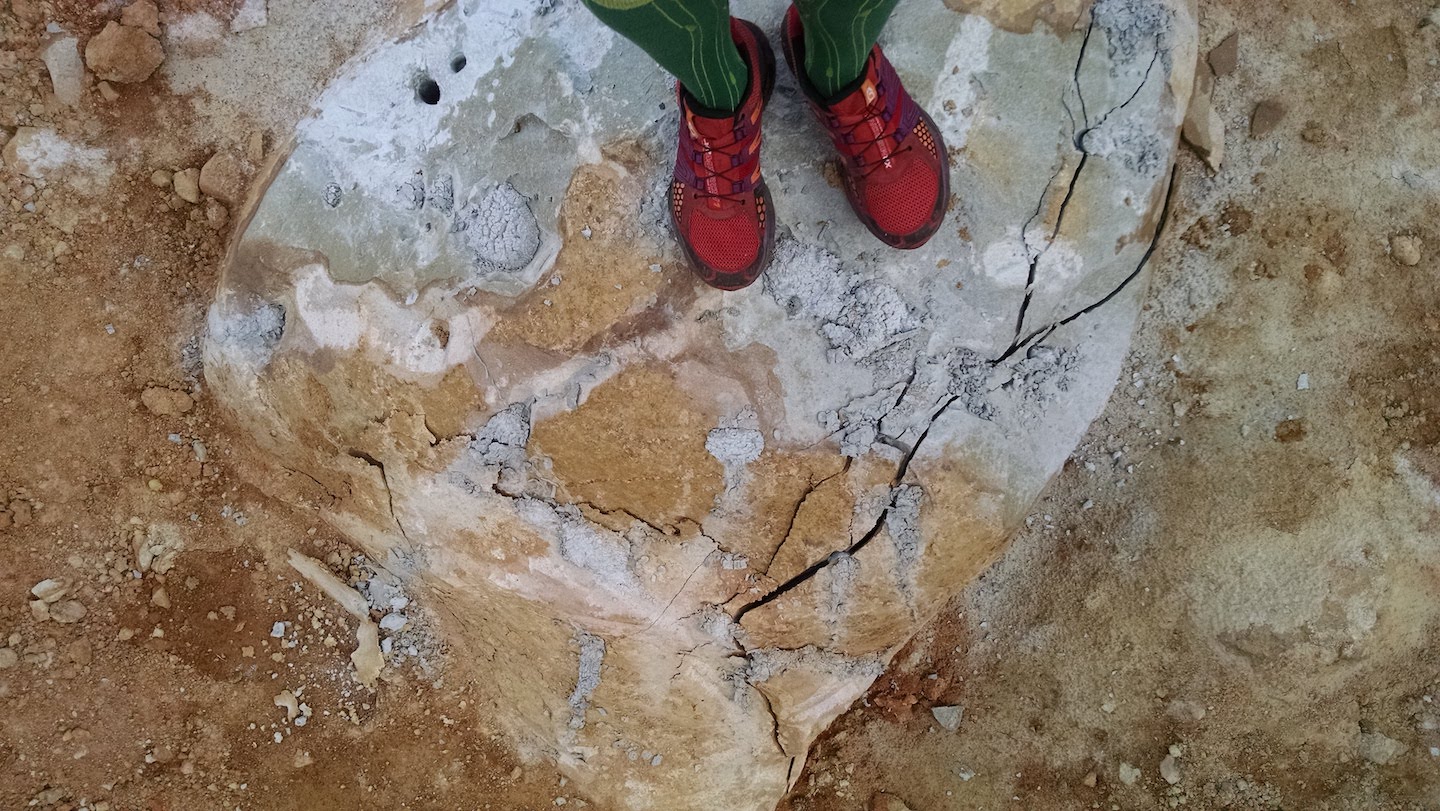
Except they weren’t finished with the hammer because all the rocks were gone. The hammer itself was finished because the last rock, a mini mountaintop smack in the center of our future home, was bending the hammer. That was surprising, because this is what that rock looked like before they hammered it. Pretty subtle! It rose about a foot above the rest of the pad.

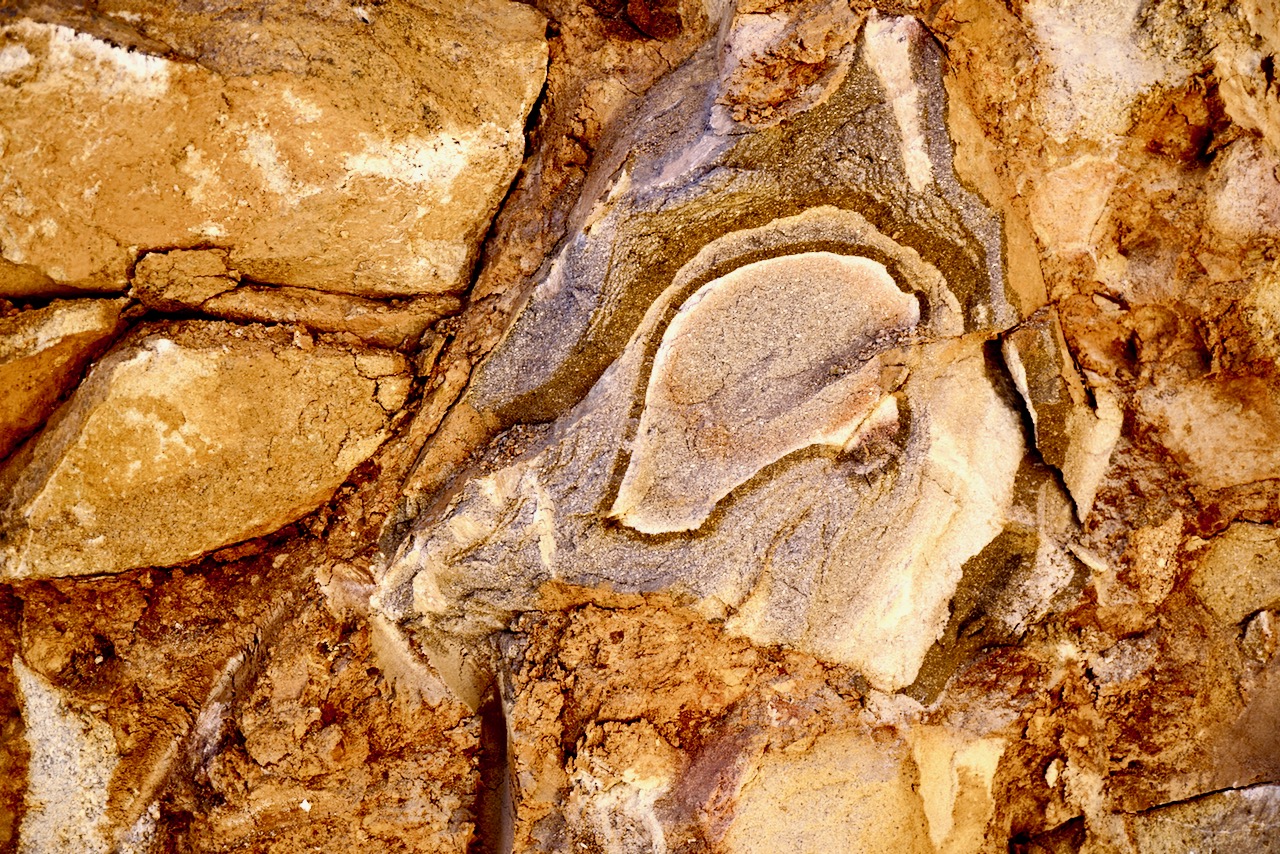
Blue Rock
Turns out, that pile of red clay in the photo above was “blue rock,” which is what locals call a kind of extra hard slate or graywacke that defies jackhammering.
After the hammer revealed stone, it was easier to see the problem. You can also see why they call it blue rock. It’s a few shades lighter than Carolina Blue.

If we couldn’t get it out, we’d have to ship in $4,500 of gravel to bring the foundation safely to a few inches above the rock. We weren’t keen on paying thousands of dollars to give back some of the feet we’d paid the excavators to dig out. Luckily, hammering isn’t the only way to break rock. Contractor Doug offered a plan B.
Rock, Paper, Dexpan
The following Saturday at 7-something, Chris ran out the door to meet Contractor Doug and the excavators at the blue rock. They had a big drill and a few boxes of something called Dexpan.
Dexpan is magic. It’s a “non-explosive chemical demolition agent.” It comes as a powder. Mix it with water, and as it dries, it expands like Bruce Banner when he gets mad, with so much force (up to 18,000 PSI!?) it can crack rock.
No, really! It’s amazing. Check out the website for more information, but briefly, you drill vertical holes 8-10″ apart in a grid pattern, a couple feet deep or as deep as appropriate. Then mix up the Dexpan, pour it into the holes, and wait.
Blue rock won that first Saturday, but only because the guys didn’t have the right drill. In 5 hours, the rock chewed through a handful of $80 drill bits, and they were only reaching half the necessary depth. As a test, they poured Dexpan into the holes they’d been able to make, and we checked back that afternoon.
It can take a few days to work fully, but this started happening right away:
In hours, the rock that had slain drills and hammers was being annihilated by a non-explosive demolition agent.
The next step was to drill better holes so the Dexpan could go deeper into the rock. Chris called around until he found a great price on weekend rental for an “air rock drill” with toothy, carbide drill bits.
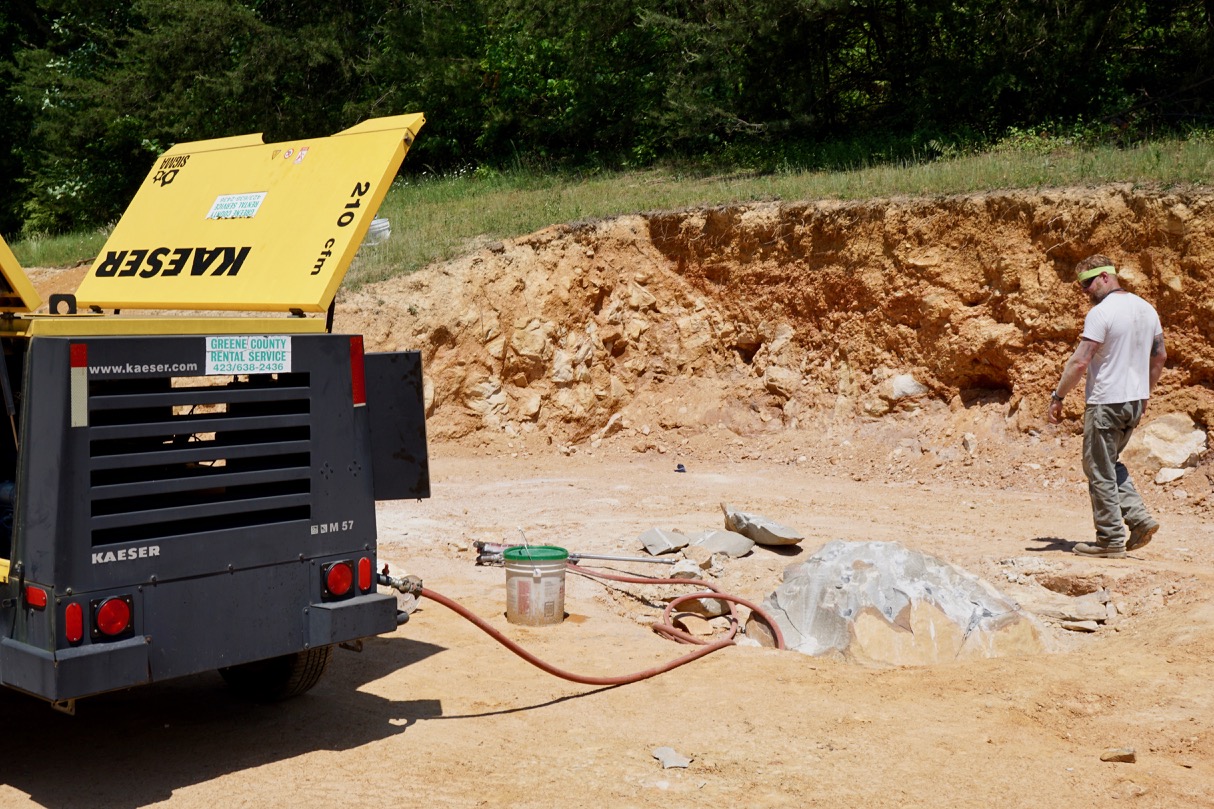
He picked up the drill the following Saturday. The drill itself is a beast weighing in around 90lb, but the biggest part of the setup is the air compressor (that trailer you see in the photo). It only took a few hours for Chris to honeycomb the rock with 2′ holes.
Another benefit of the air drill is that it blows dust out of the holes as it drills, though Chris still had to shopvac some of the dust out. The holes should be clean and clear so dust doesn’t dilute the Dexpan.
Dexpan comes rated for different temperature ranges (all types seem to be the same price). You can cover the holes with a tarp if it’s going to be very rainy or sunny to let the Dexpan dry at its own pace. If it doesn’t seem to be working, they say to add more water to your holes and wait a little longer.
The results were awesome:
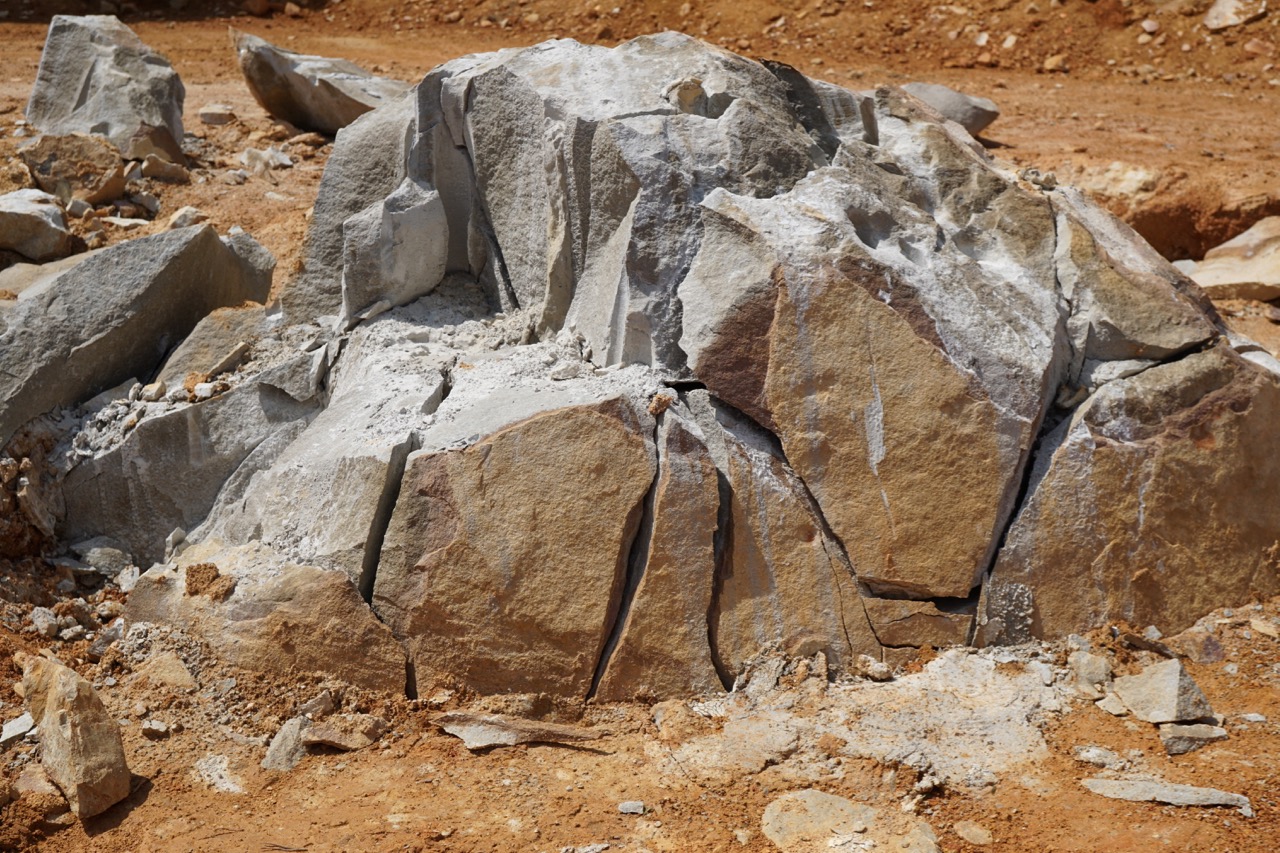

After “air rock drill Saturday,” it was “game over” for the blue rock. We’ll use the pieces to line a garden box or driveway.
![]()
Comparison Shop!!
There’s an assumption that higher price = higher quality, but that’s just not true in the world of building supplies.
The air rock drill cost a little over $100 for a weekend rental. However, at another rental place, the same drill cost over $400 to rent, and that’s what it cost for licensed contractors to rent the drill as well. The price spread was so large that Chris actually called the cheaper place back to make sure it was the right drill. They said, yep.
Similarly, Chris saved us $300 on the Dexpan. He found the best price for 4lb of brand-name Dexpan at Home Depot: a little over $100 including shipping. Home Depot beat not only the Dexpan website but several vendors who sell direct to contractors. The high end of the price range was well over $400.
The Home Depot price was even lower than the price of a generic, less powerful product at another hardware store. Again, we took the gamble that a lower price didn’t mean the product was inferior. We did have to wait a few more days for delivery, but in this case, the delay was short enough that we couldn’t justify spending $300 extra.
In this case, the cheapest options destroyed the rock. Once again, Chris’ research and biceps have saved us a lot of cheddar.
With the rock broken, hopefully our next building update will be even more exciting.

One comment