
by Beth
Some homebuilding milestones are bigger than others, like a finished floor or passed electrical inspection. They mean you can move forward with a host of other steps that couldn’t be completed before.
Interior paint was a big one. It let us take critical steps to make barnbungalow move-in ready, like final electrical installation and the 3rd and final part of plumbing, which our guys call “set in,” because they set your toilets and faucets in place.
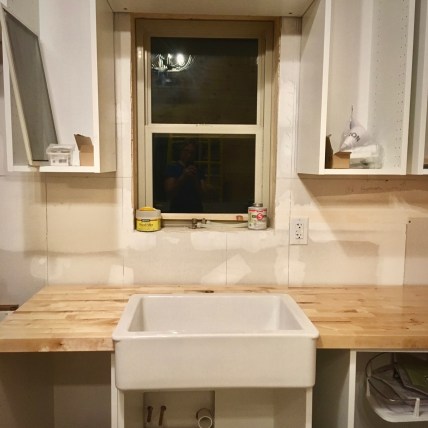
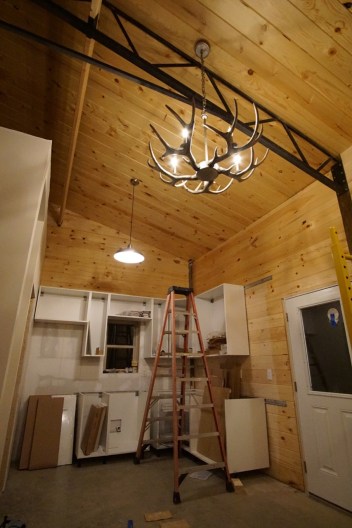
Plus, it was awesome to see the interior go from this…
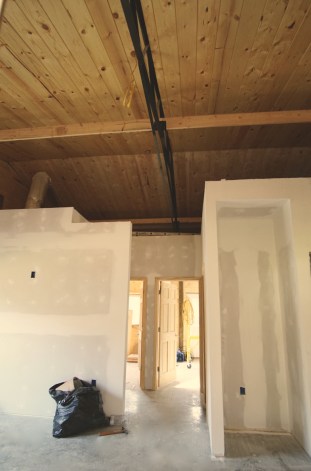
…to this…
 Yes, that’s an antler chandelier. The paint hadn’t dried before Chris was persuading our electrician, Z, to come back for the electric “finish”: hanging fixtures, putting plates on sockets and switches, testing, and tweaking. Z obliged, and we were almost ready for electric inspection, with the exception of the water heater.
The tankless water heater has electrical connections to be hooked up after the heater is plumbed to the water lines. Water-heater plumbing would be part of the plumbing set in, so Chris scheduled the plumbers for a week out.
The Plumbers Are Coming! Run and Panic!
Just like that, we spiraled into our standard pre-plumbing sprint. Plumbers have been catalysts for frantic decision making. The plumbers were coming to install faucets, drains, and toilets, and we still had to complete all of the following before they arrived:
- Choose and purchase toilets.
- Hang vanities.
- Choose, purchase, cut, install counters.
- Install and caulk sinks.
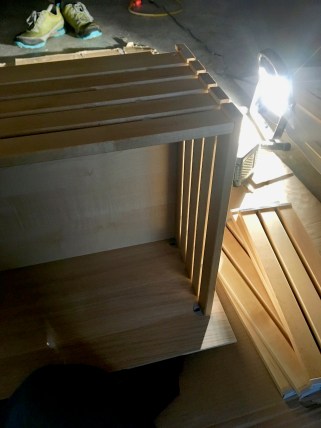
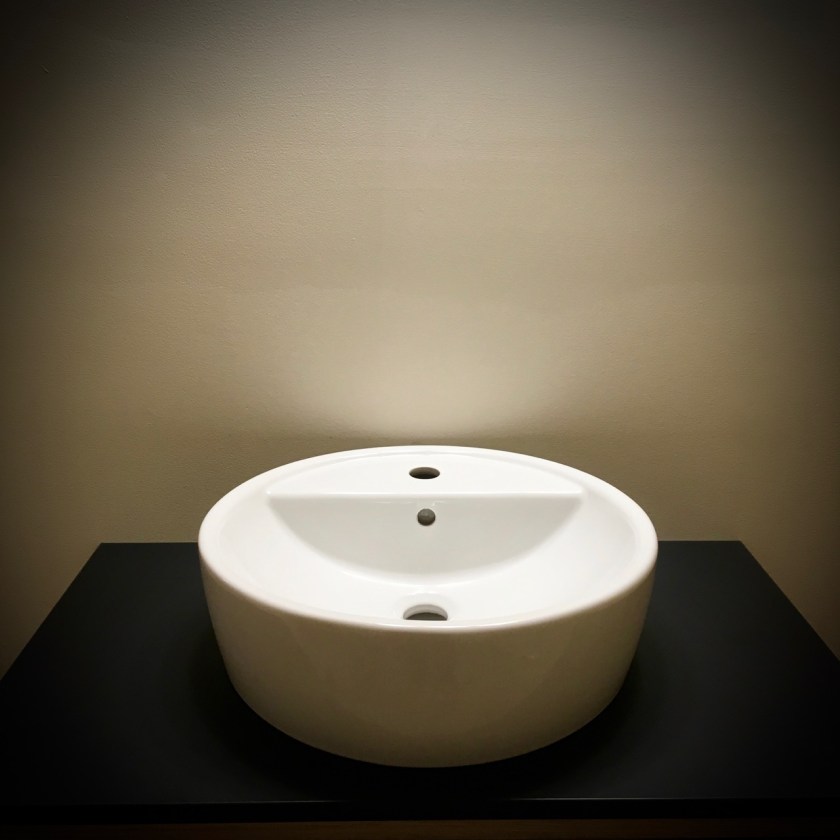
Toilets were easy. A model that was the right size and shape was on sale that week. I’d assembled the vanities, a couple of IKEA GODMORGON units, the previous week, mostly by flashlight during one of those endless 2nd-shift jags common to full-time-job-having homeowner builders.
We still had to hang the GODMORGONs and cut sink holes in the IKEA TOLKEN counters, which Chris did with a jig saw and a template that came with the sinks, after we took plenty of time to mull over sink placement for each bathroom. At the front of the counter or the back? Or the center? Every single element of the build comes with decisions, decisions, decisions.
Then we worried over counter height for a while, after which Chris hung the vanities, gingerly, on the freshly painted Divine White walls. The vanities’ brackets didn’t match up to the studs, so we used confidence-inspiring toggle bolts. Those were a cool discovery.
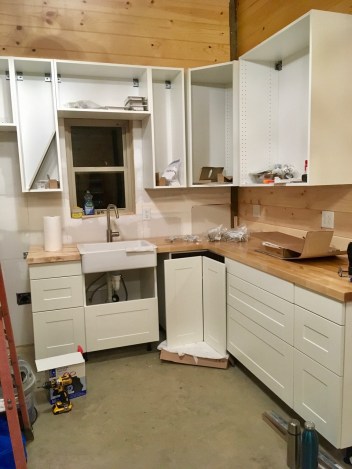
The kitchen was a bigger adventure because we’d been procrastinating the countertops.
Quartz sounded like the best choice for a possible future vacation rental home. It’s hard to mess up. But, it’s expensive, and the right color wasn’t standing out, so we’d been avoiding making final commitment. Now, we found ourselves at the store on a quartz-choosing mission confronted with the fact that, like so many things, quartz delivery takes 3-4 weeks.
Setbacks like this are no longer a big deal. Chris said, “Eh, we’ll use plywood for a while,” and since our normal counter guy was off work that night, we left without ordering quartz.
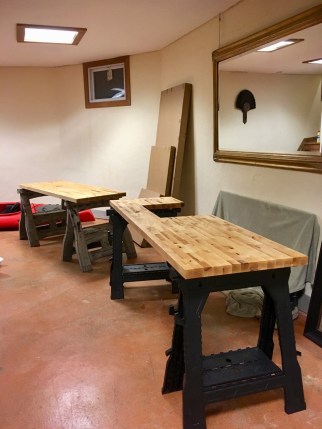
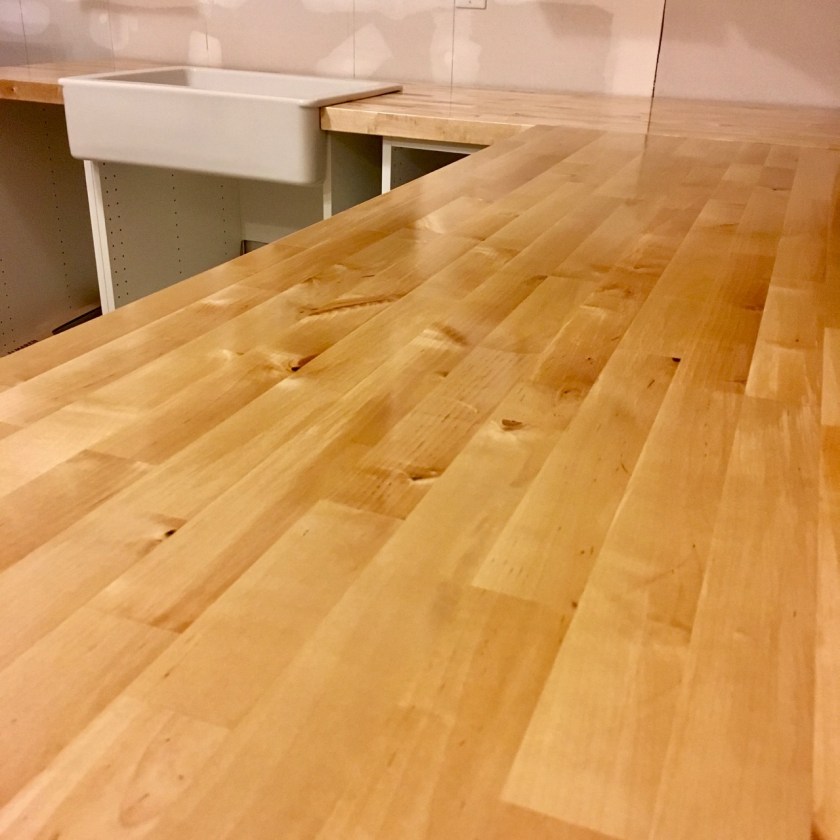
Though unphased and operating with the hardened resolve of 2nd-semester homebuilders, our wheels continued to turn. By morning, we’d realized that with a minimum of extra effort and cost, we could upgrade from splintery, temporary plywood to butcher block, which we might actually be happy with for years. Lowe’s had 8′ birch slabs for $200, in stock one town over. We bought 2.
Quartz was going to cost $1,600, by the way. While it’s low maintenance and butcher block is anything but, butcher block is easy enough to sand down and re-oil. Plus, it stole our hearts. It’s right for a barn that’s a house. And, we could cut and install it ourselves, which is a major plus.
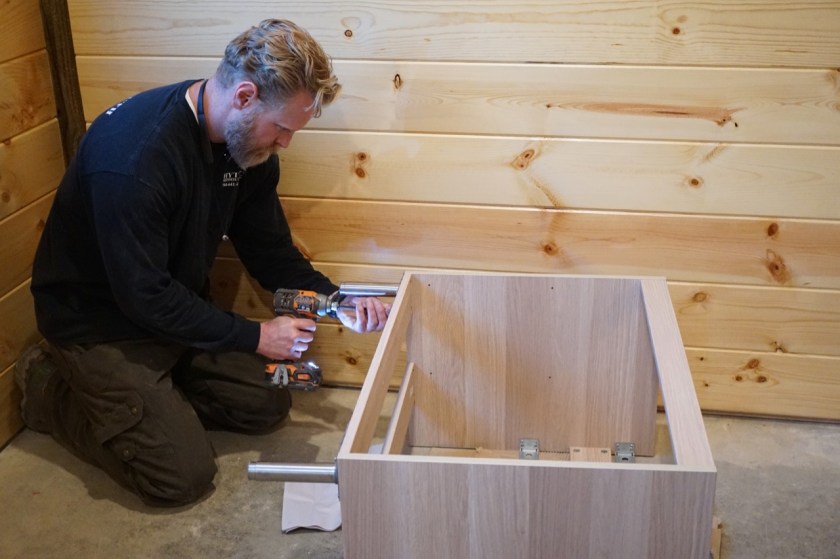
Before we could measure the counters to cut them, we had to make the frightening final decision to lock each cabinet, making them as level as possible and hoping the stove specs were right and IKEA cabinet spacing material would work as promised.
With the cabinets locked, we wrangled each 100lb piece of butcher block into the barn, without scuffing any of the Divine White, and laid them across the bottom row of cabinet tops. Chris penciled outlines onto the butcher block for the cuts, taking a few feet off the end of each slab , a circle for the faucet, and a rectangle for the apron sink.
The end cuts were our excuse to buy a new circular saw and a fine-cut blade. Cutting butcher block takes a saw with muscle, and a person with muscle. The cuts Chris made were so smooth it was hard to tell which side had been done at the factory.
The counters came back to the rental dome with us, and I spent an hour of every evening for the next week in the basement listening to podcasts and making butcher block shine with an oil-based, food-safe finish. Watco was the only brand at our local Lowe’s, but it was easy to work with. I followed instructions on the can. It took 2, $12 cans to finish the counters and a 3rd to fancy up the end cuts to use as cutting boards.
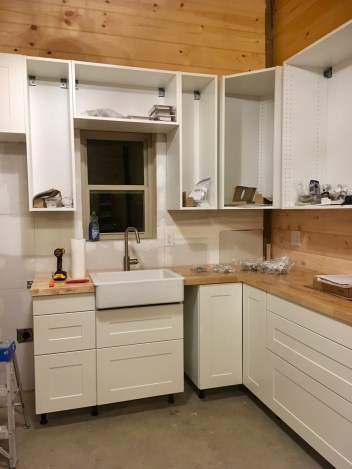
The plumbers were coming Thursday. The finish was ready Tuesday. That evening, we swaddled the counters in blankets and drove them back to the barn. Chris secured them to the base cabinets. Nice!
I’d been YouTubing sink installs, so I grabbed the baton for last leg of the race to the plumbers, caulking the apron sink to the butcher block, attaching counters to the bathroom vanities, and caulking bathroom sinks to those counters.
The job was finished by 2 a.m. We wanted to give the caulk 24 hours to set before the plumbers arrived. It had 30. By Thursday evening, we had running water.
Drinking water! Flushing toilets!! HUGE milestone. Z came back for water-heater wiring, and we had hot water! Another milestone! We were ready for the final electrical inspection, we thought.
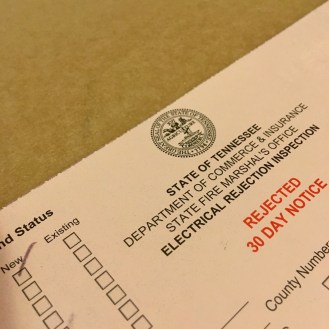
The inspector found 4 or 5 small issues to fix. Z zipped back out to address those, and a week later, the inspector slapped a blue sticker over the red one.

That’s a milestone sticker. In our county, it’s the last inspection you need to graduate from builder’s risk insurance to homeowner insurance and move in. I had our insurance agent out the next day to snap photos for the underwriter.
Back to the Kitchen
With counters on and plumbing in, we felt safe to finish the kitchen. No more drywall dust, paint splatter, or trades to accidentally bump into cabinet fronts.
Assembling the guts of IKEA cabinetry is more patience than power tools, so this part was mine. I enjoyed it over a series of late-night, 2nd shifts with podcasts and coffee. If you’re considering an IKEA kitchen in your DIY home, go for it. If we can do it, you can.
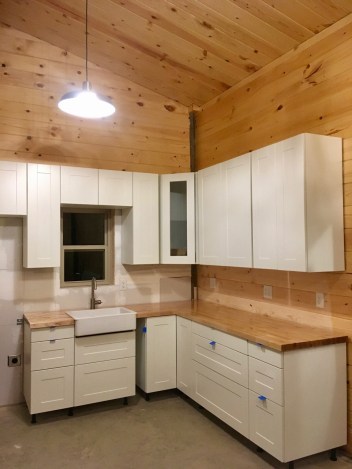
Appliances arrive next weekend. We have a stack of heat-proof-tin backsplash samples to choose from. Chris and I will tackle the spacers, cover panels, toe-kicks, and under-cabinet lighting soon. Then, disco!
Onward and Barnward
 The last professional job to be completed is the indoor shower. Chris has been coordinating the work with J, and it’s well underway.
These posts barely scratch the surface of what it’s taken to reach this stage. Every step of the way, decisions large and small have to be made, usually without nearly enough information. Research, questions, and leaps of faith are constants.
As satisfying as it is to see so many projects come to fruition, this is also the time we realize where mistakes were made. The poorly placed electrical box that shoves a light fixture conspicuously off center. A hole in the drywall too large for the socket plate to cover. We’re pretty worn out, but we have to stay vigilant; this is the part of the build when carelessness can ruin the hard work and investments of the past 5 months.
A crooked countertop or saggy cabinet door could make our carefully thought-out kitchen look slapped together. Sloppy trim work could nullify the beauty of professionally smoothed and painted drywall. The finish part of the build is when you’re the most tired but the most on the hook to do the best work. Slow, detailed work. It’s probably why you see a lot of houses sit empty for months or years after they appear move-in ready from the outside.
With the electrical inspection passed and insurance in the approval hopper, we plan to move in later this month. There will still be projects to finish, but we’ll push as hard as we can before move-in, since it’s easier to work without furniture to move around.
Cheers to the milestones and to you for reading this far! Thanks to the podcasts who made great company last month, even if some of them are a little scary for late-night listening in the woods:
And of course,
Wait, this blog is called “Earth to Dome.” Are we still building a geodesic dome? Yes! Read this to find out why we’re building the barndominium first.
