
by Beth
2-minute video of the transformation of kudzu field to barn and pasture
Since our acreage came with nary a roof, we decided to install an outbuilding in the early stages of the domestead to protect building materials.
Rather than create a village of storage sheds over time, we went for one large barn up front. Big decisions for the barn included placement, type, size, and appearance.
Placement: After clearing the kudzu field, the spot for the barn revealed itself. Its face to the driveway to welcome visitors, its back to the woods, and elevated on a small hill away from water hazards.

Type: This decision was based on cost. On the high end of the barn spectrum are beautiful wooden heirloom structures, rock barns, and funky retro Quonset huts. On the low end are plastic or metal sheds, which aren’t as inexpensive as they look after factoring in costs to protect them against wind and wear and replace them when they fall apart.
We went middle-of-the-road: the metal pole barn.
“Pole barn” sounds like a rustic structure full of beams and posts, like you see in the Smokies. But the diversity of pole barns will blow your mind.

The key is the poles, dug into the ground and often cemented to keep your structure true against wind. Add bracing, rafters, and a metal exterior, and you have a long-lasting barn that looks nice, too.
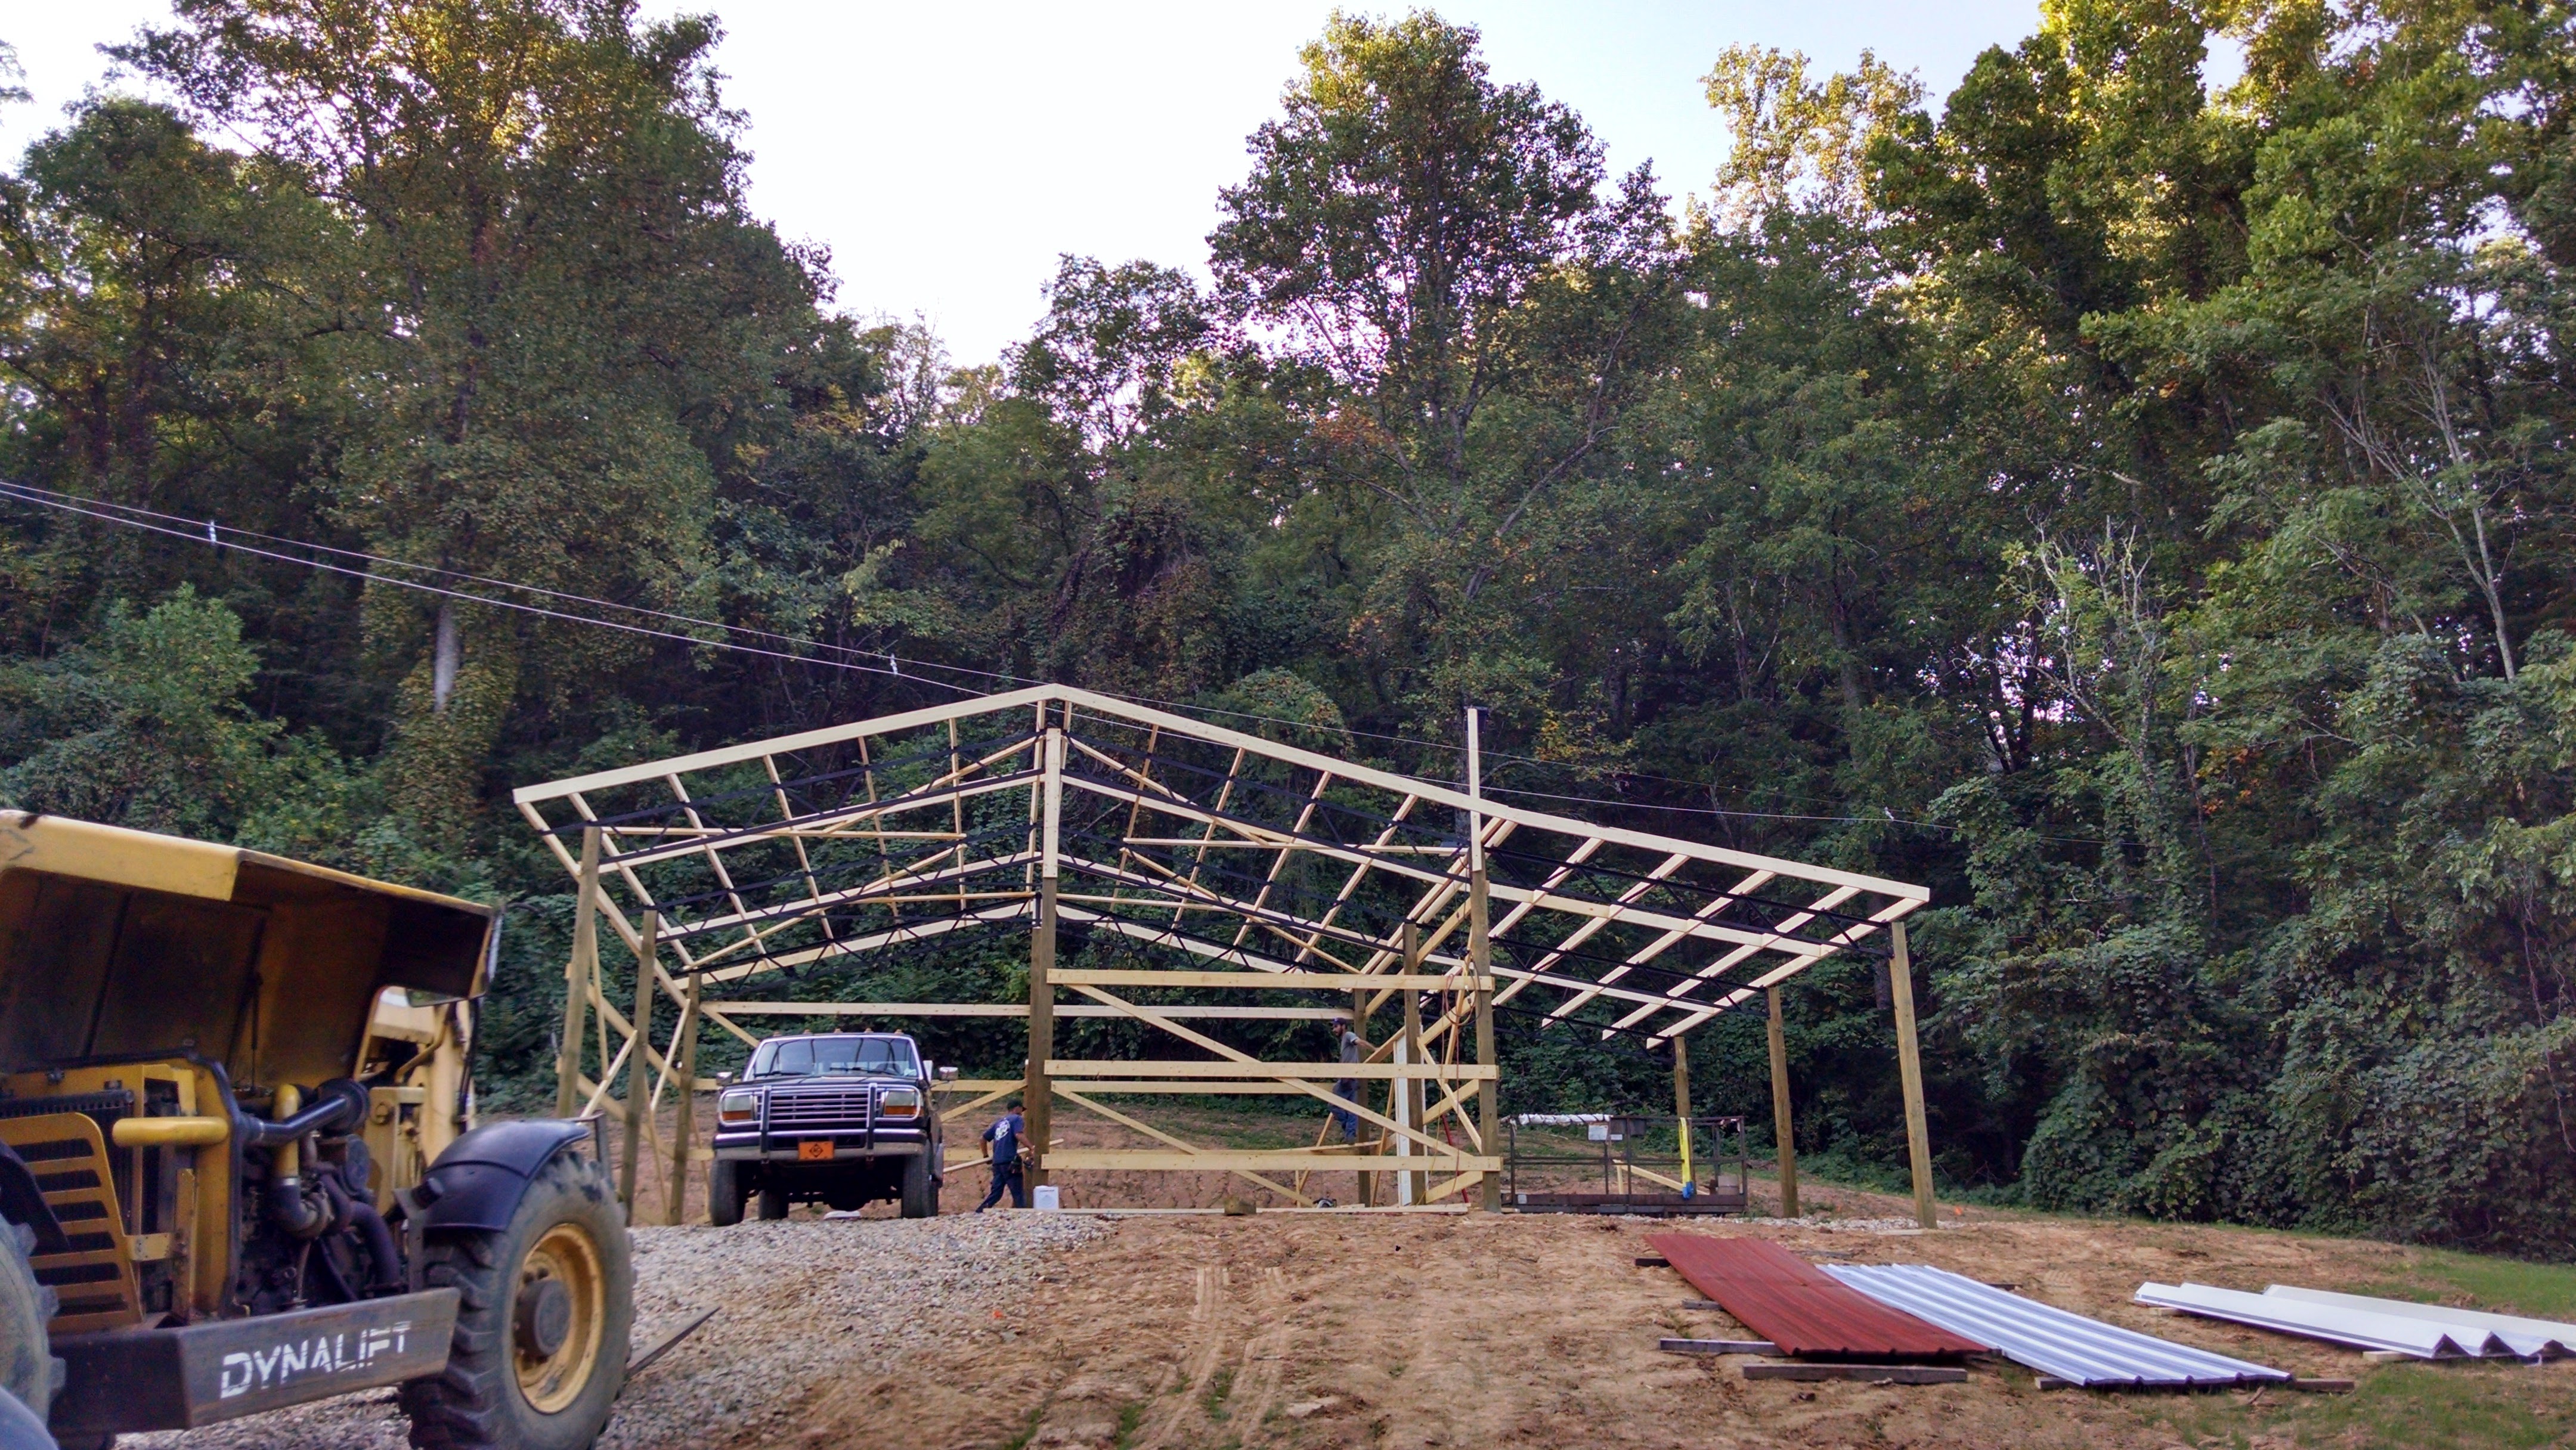
We came across pole-barn kits and were hopeful this was a job we could do ourselves. Maybe next time. This time, having full-time jobs and no experience meant that the help of professionals was worth our hard-earned cash. What took these guys a week of 10- to 15-hour days would’ve taken us so much longer, and watching them work was a valuable learning experience.
![]() If you’re building your own pole barn, peruse the “what’s included” pages on pole-barn-kit websites for inspiration about the materials and tools you’ll need.
If you’re building your own pole barn, peruse the “what’s included” pages on pole-barn-kit websites for inspiration about the materials and tools you’ll need.
You may or may not find that a kit is the best option for you. Remember that kit prices only include material and not assembly nor the preparation of the pad: grading for drainage and floor surfacing with usually gravel or concrete.
If you’re having your barn built, do price the full job with local contractors instead of starting with a kit. Good contractors can get better pricing on the materials, and they’ll offer just as many choices in size, colors, and features, from venting to wainscoting.
If you plan to have someone else build it, the standard formula is 50% material, 50% (or slightly more) labor. So, if you pay $6K for materials, the labor may run $6K-$7K.
As always, gather 2-3 solid estimates from different contractors.
Size: Once again, the rule is to go bigger than you think you need. It’s the same with tractors: “more is more” until you can’t afford it. Our initial thought was around a 20 x 40′ building. That’s the size of my childhood swimming pool, so when we forgot the tape measure, I was still able to estimate it almost right on (pat self on back) when we staked the footprint with flags to envision the space.

The estimate on a 24 x 40′ pole barn came back $3K over budget, so we dialed it back to 24 x 30′ with an overhang on one side.
![]()
You can save money by building a barn over gravel or dirt instead of a concrete pad. Be aware that gravel isn’t as easy to walk on, but it does drain moisture better than dirt. A muddy barn floor would be a bad thing. We may add concrete in the future, but for now, the gravel is doing the trick.
Since we’re using this as storage barn and not a workshop, we’re currently not sealing or insulating the barn, which would of course drive up costs, too. A great thing about pole barns is versatility, not only with future options to upfit the barn with power and insulation, but in choices of shape and color.
Appearance: Barn metal comes in a wide variety of colors. We thought a barn should be red, but we want all of our structures to be organic to the landscape, if that makes sense. So we chose an earthier red with off-white trim and a Galvalume (silver) roof to reflect the sun’s rays in the summer.
Another choice is the shape of the barn, including the direction of the rafters. To make it more barn-y and less metal-garage-y, we asked for the peak to run front-to-back (perpendicular to the driveway) instead of side-to-side (parallel to the driveway). This also creates a nice spot for a barn square. The cost was roughly the same either way since it required fewer but larger rafters.
Doors drive up costs, but lack of doors reduces usability, so we chose one large sliding door on the front, tall enough to drive machinery through, and one man door on the side. With metal pole barns, a door or window can be cut in at a later date if desired.
![]() Create a graphic to communicate what you want. I made this drawing in Pages and shared a PDF with several contractors for pricing.
Create a graphic to communicate what you want. I made this drawing in Pages and shared a PDF with several contractors for pricing.

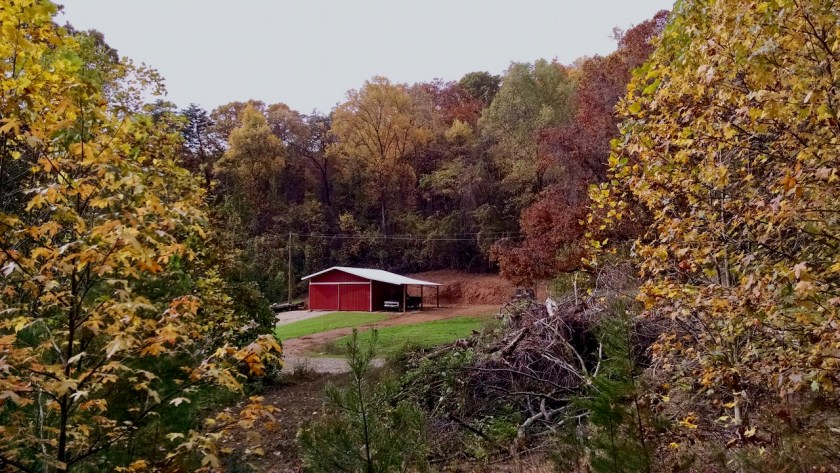
And voilá, the drawing came to life! How’s that for satisfying? We’ll add the barn square and door X at a later date, but for now, here’s our barn.

It was completed just prior to delivery of our dome kit and is already full of building materials. It’s looking especially nice in the fall colors.
Fun side note: the berm in the back is where the excavators are pulling dirt to level our future dome pad. By doing so, they’re…
- Extending the flat, usable area behind the barn. No structures can be built because that area is under the power lines, but all flat land is useful land out here.
- Removing the invasives that were concentrated in that area, from kudzu to multiflora rose to trees of heaven. The best way to end invasives is to take their roots out. If any of the roots somehow elude the excavators (who are filtering for kudzu crowns) or survive the trauma of being transported and buried a few acres away, we’ll be able to mitigate those right as they pop up.
Do you have barn questions you think we can answer? Contact us or comment below, and best of luck with your barn build!

Rock n roll! Way cool. Like the choreographed leaping into the air at the end of the video, hahaa
LikeLike