

by Beth
We’re 6 months into establishing our homestead and learning something new every day, including what it’s actually costing to settle our land.
This post has a Part I, which is a more general guide to knowing what you’re getting into and how to set an offer on a piece of land. Now, we’ll go into some personal details.
Besides the land, our largest expenses so far have been the following, in descending order:
- Tractor
- Geodesic dome home kit, first installment
- Excavation project for driveway, barn pad, and power
- Farm truck
Below are details about what we spent vs. what we thought we’d spend – and how we’ve saved money.
![]() Proximity is key. If you’re not living on land while you build, live nearby to save time and money. Our land is a 10-minute, no-traffic-light drive from where we currently live. Getting there to check in on a project or mow the field isn’t a production; it’s a lunch break.
Proximity is key. If you’re not living on land while you build, live nearby to save time and money. Our land is a 10-minute, no-traffic-light drive from where we currently live. Getting there to check in on a project or mow the field isn’t a production; it’s a lunch break.

1. Tractor
Expected cost: $3,000-$7,000
Actual cost: $20,000
![]() Ouch. We assumed that, since tractors are everywhere out here, we could pick up a used one on the cheap. NOPE.
Ouch. We assumed that, since tractors are everywhere out here, we could pick up a used one on the cheap. NOPE.
Tractors don’t really depreciate in east Tennessee, and used tractors are just that: still being used. Not for sale.
Now that we have one, we understand why. Nature wants your land to be a certain way. We humans want it to be another way. Our way takes a tractor.
Neither of us are “new car” or “new tractor” types, but we ended up with a new tractor because of the lack of used tractors in our region + savings on features and attachments bundled with new tractors (hydrostatic; 4wd; filled, R4 tires; quick-release bucket; etc.).
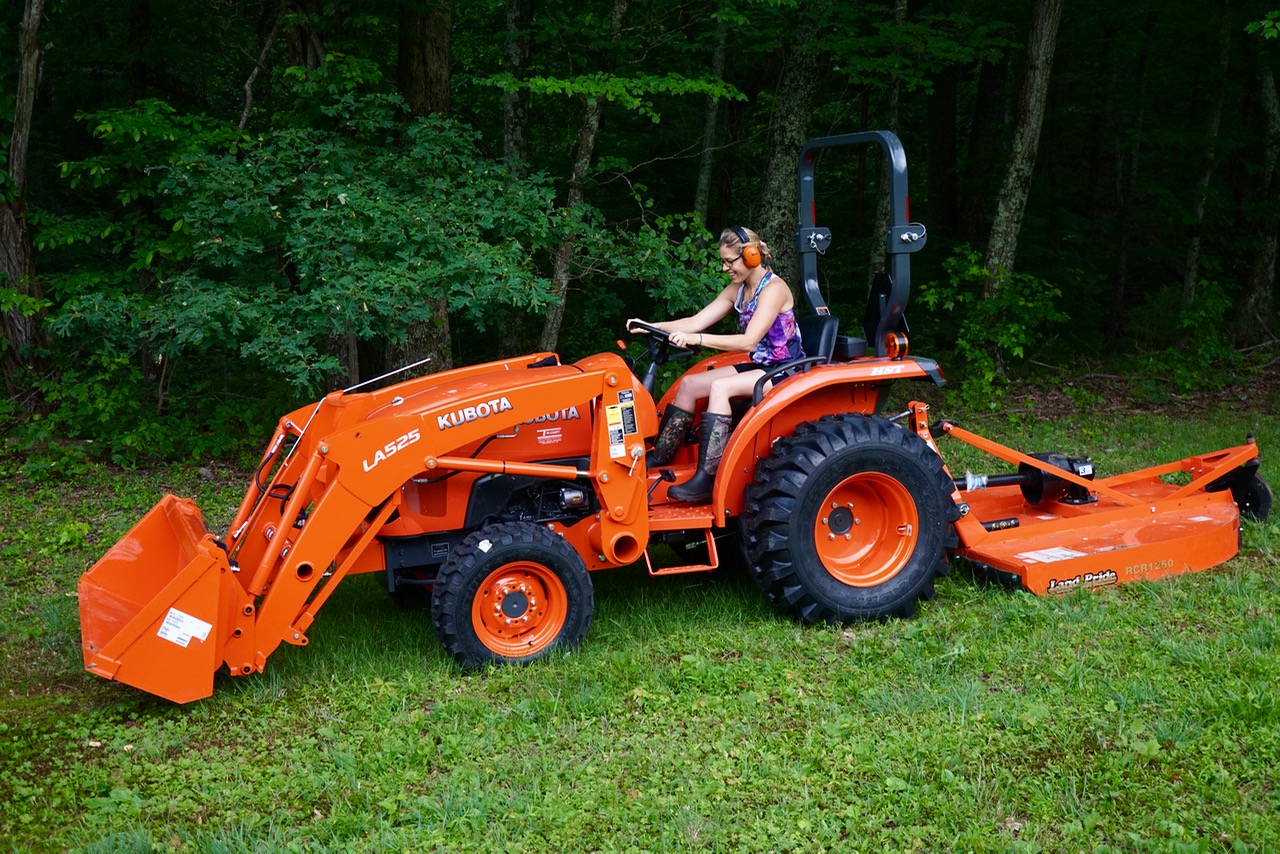
Tractors are amazing! They mow, tow, plow, push, carry, rake, dig, drill, till, carry, lift, load, spear, scrape, flatten, aerate…and empty your wallet. Here are a few ways to save on a tractor.
How to save money on a tractor:
- Research first. Knowledge is power when you’re negotiating. Go online, talk to other landowners, and if you see a tractor dealership on the side of the road, stop in.
- Wheel and deal. Chris negotiated on 4 tractors in 3 states. He worked the final deal for a week by phone and received the offer in writing by email before we trekked to the dealership. When we got there, all we had to do was take a test drive (which doubled as a “how to drive a tractor” lesson; seat of our pants here), shake hands, and hand over a check. Because he’d done so much research, Chris was able to work out not only the best price but a package that will hopefully save us money over time. We thought hard about the attachments we’d need most often: front loader, bush hog, box blade. Separately, they’d cost a few thousand, so Chris asked dealers to sweeten their deals by throwing them in. They did.
- Rent or borrow attachments you only need occasionally. Attachments are expensive, and you might not need them as often as you think you will.
- Buy the tractor you can afford. With 20 acres and a slope, we could have gone up in horsepower, but we saved thousands with a 25-horsepower tractor, and we love that orange motorized ox like a family member. Jobs that used to take days now take minutes.
- Will you be farming, legitimately? You may be eligible for a sales-tax reduction or other break. Ask your tractor dealer what proof of farming is required.
2. Dome kit, first installment
Expected cost: $15,000
Actual cost: $15,000
 Our dome-kit vendor lists pricing clearly on their website, and our rep writes detailed emails, so no surprises here. The first installment includes our downpayment and dome design. The second installment will be the remainder of the kit cost and delivery. At the moment, we’re completing the design with the spare guidance of our dome vendor. Next, they’ll begin manufacturing it, and we’ll pin down the logistics on our end of receiving and storing dome components, hiring contractors, and installing infrastructure to prepare for the build.
With enough understanding, you can save thousands on plans if you create your own layout without an outside architecture firm. Dome vendors often offer affordable CAD options and guidance you’ll need on the interior geometry, how it squares up with code, where supports are needed for the floors, etc.
How to save money as you plan a geodesic dome:
- Choose a vendor who doesn’t nickle-and-dime. Clarify what’s included in pricing so extra fees don’t take you by surprise. Read the fine print and vet potential vendors by asking a lot of questions. Some vendors sell fairly inclusive kits while others break kit pricing down to a granular level, where essentials like insulation cost extra.
- Bring your A-game when communicating with your vendor. As with any business, you can expect a vendor to tack on more fees if you start to suck up their time. Unfortunately, planning your home is stressful and time-consuming no matter how you go about it. If you’re new to it, sometimes it’s a struggle just to know which questions to ask. Write down all your thoughts and questions and communicate with your vendor in an efficient manner to save time, money, and sanity for all involved.
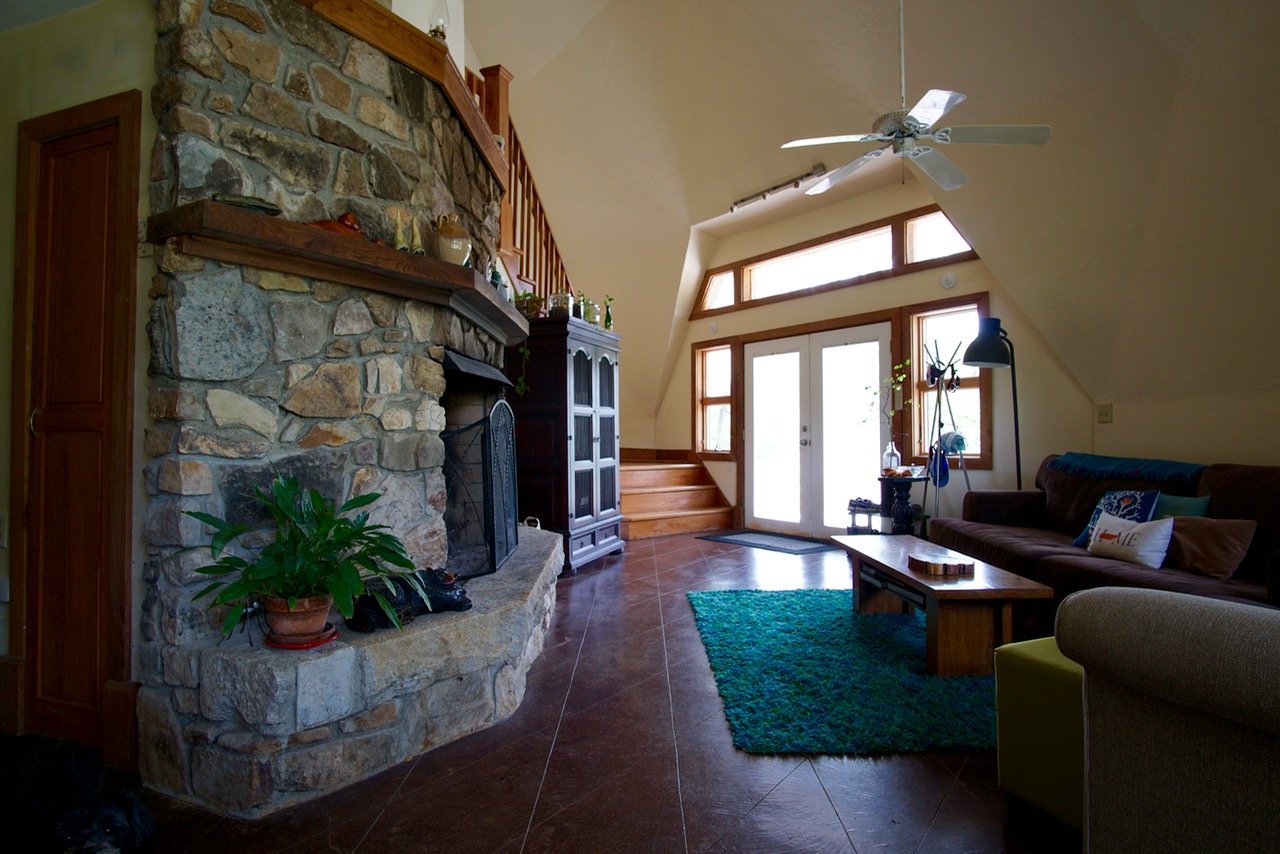
- Live in a dome to see what works in the space. At the very least, connect with other dome-owner-builders and even rent one for a weekend. Your plans and bottom line will benefit. We must have repeated a hundred times, “We could never have done this if we didn’t live in a dome already.” Even after living in a dome, we reach out to other domies for insight. One of my most helpful conversations to date (besides with our local Forest Service rep, the staff at the County Clerk’s office, the City Manager, the 9-1-1 coordinator, and so on; building something really makes you reach out) was with a dome-owner-builder who rents one of his 2 domes as a vacation home. Other helpful moments have been through Instagram; the hashtags #homesweetdome, #geodesicdomehome, and #domehome can connect you with some cool dome-owners.
- Build where codes are light. Our county is one of the few in Tennessee with no building code. Nada. You need permits for electric and septic, but after that, you’re on your own. This has saved at least $1,000 of having to share engineer-sealed plans with various government offices. The flip-side is that without code, we’re without recourse if our home falls apart, so we’re on the hook to choose contractors wisely. Our dome vendor has confirmed that their kits and plans meet 2012 International Building Code, which is a TN State requirement, so we’re on target there, but the onus of choosing trustworthy people to implement those components is on us.
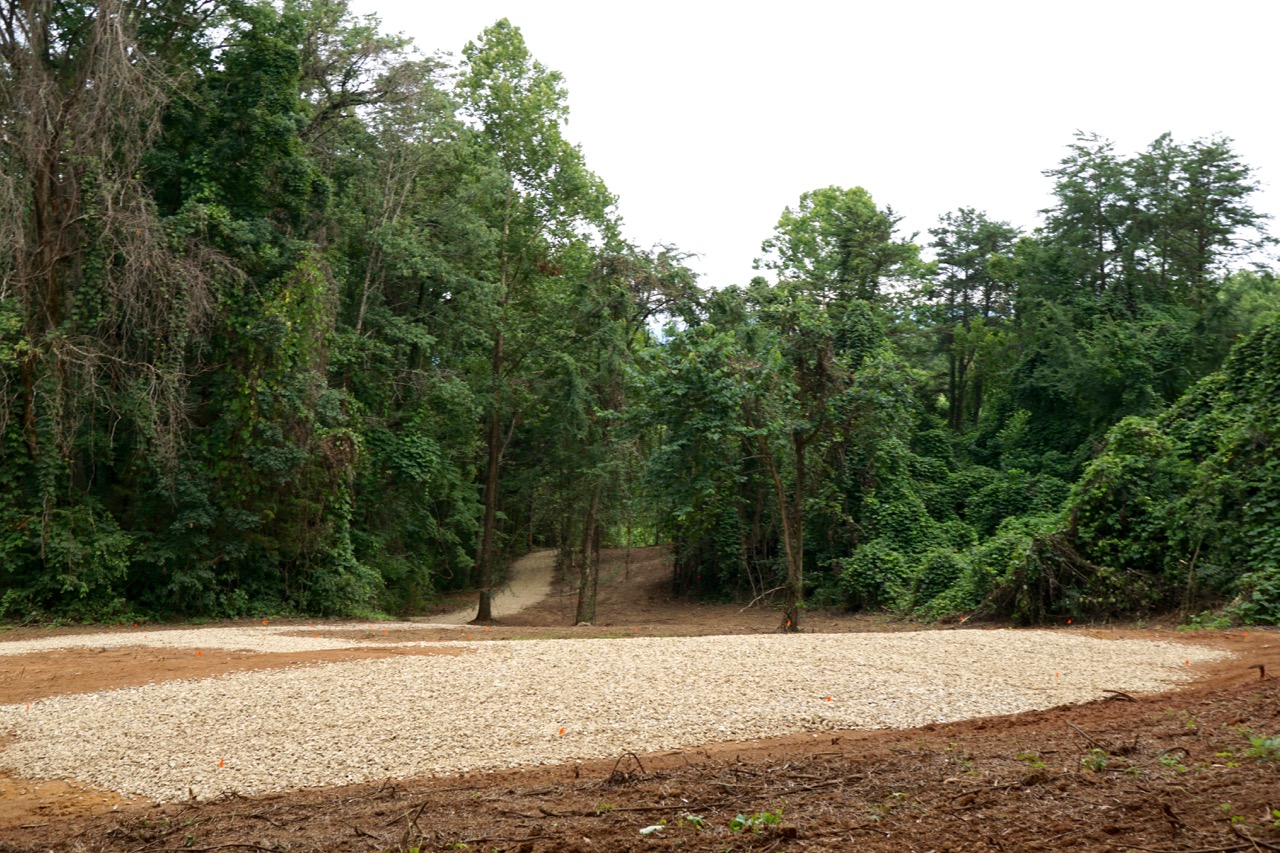
3. Excavation project for driveway, barn pad, and power
Expected cost: $25,000
Actual cost: < $12,000, including wholesale gravel
Our estimate was based on the length of our driveway + a pesky sinkhole + tree and kudzu removal + what our local vanguard (the power guy) said was the going rate for a job like this.
Backing up: When we chose this land, after 2 years of drought, the existing driveway was smooth and solid. We assumed that the cost of a driveway would be the same as a few loads of gravel every year or 2.
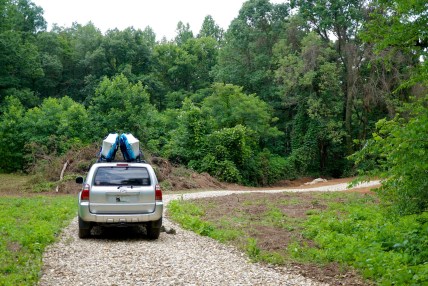
![]() Then the drought ended, and under our truck tires, the driveway showed its true identity, a muddy mess. We learned that grading a driveway correctly for drainage is the way to keep it from dissolving into a rutted disaster.
Then the drought ended, and under our truck tires, the driveway showed its true identity, a muddy mess. We learned that grading a driveway correctly for drainage is the way to keep it from dissolving into a rutted disaster.
Driveway excavation was a massive expense we hadn’t budgeted for. We checked into renting machinery because we believe in doing what we can ourselves, using sweat equity over cash. But even rental and maintenance for a week would have cost a few thousand, and our confidence level with big machines was low. We opted for professional help.
This is a case where doing it right the first time is priceless. There’s no telling how much money a good driveway will save in vehicle wear, better access for all vehicle types, and resurfacing costs over time.
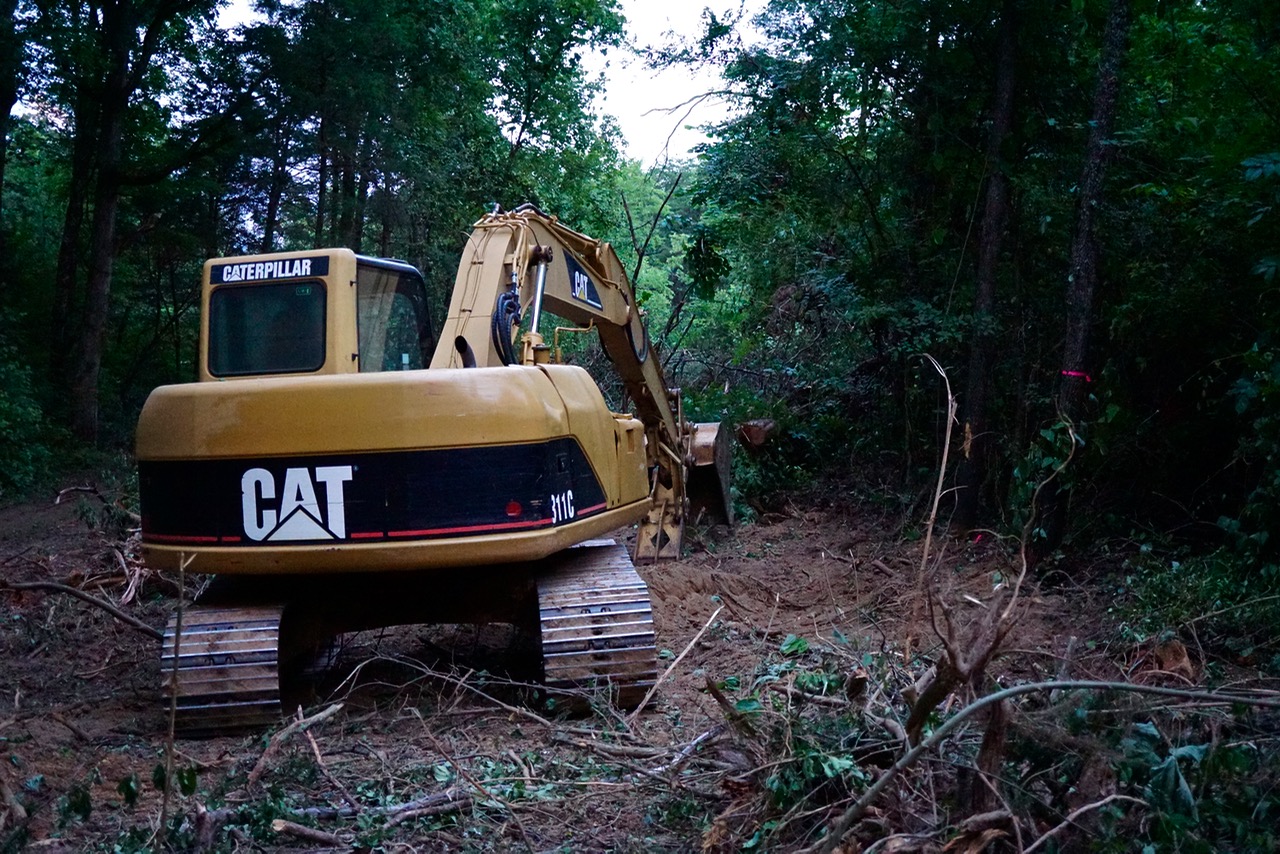
Several experienced excavators labored between weather events over 2 weeks through mushy, machine-tipping mud. They removed brush and dead trees, added conduits, and staunched a growing sinkhole. Dodging whipping vines and angry ground bees, they spread dumptruck loads of gravel at a measured depth. They used survey equipment to grade to prevent erosion. At one point, a tree branch shattered the windshield of their Bobcat.
We made the right decision. This wasn’t any kind of job for amateurs.
Budget-wise, the saving grace was that we’d estimated $25,000 for power, too, but power is only costing us $4,000 (more on that later).
We had around 1/3 mile of driveway to fix up. For future reference, that’s more than a few loads of gravel. It was 150 tons, or $3,000 including delivery, from our local gravel pit.
How to save money on an excavation project:
- Get multiple quotes. Chris got quotes from 4 excavators. Not just over the phone: each one walked the land and described how they’d do the job.
- Don’t always go with the lowest quote. Go with the best plan, whether it’s the cheapest or not. Mistakes are expensive to fix, so it’s good to get it right the first time.
- Put it in writing. A written contract describing the work to be completed, including a specific date range, will protect all parties and clear up any misunderstandings from the start. Weather may delay work, pushing it past your date range, but the excavator should be eager to come back as soon as the ground is dry enough to work again, which leads to the next piece of advice:
- Don’t pay until the job is completed, except maybe an equipment or materials installment at the beginning if agreed to mutually and stated in the contract.
- Be there. You don’t have to hover, but showing up once or twice a day to see the progress, staying in contact via phone, having them text pictures of the job, can all ensure that the job you think you’re paying for is the job you get. (It’s also fun to see the work in motion and see the professionals at work.)
- Remove vegetation yourselves. A good homesteader won’t be afraid of cutting down trees or attacking kudzu. The work we did to remove kudzu and trees likely reduced excavator estimates substantially by making their job less daunting time-consuming. Not to mention that seeing the ground underneath the kudzu was critical to help us define the work, like staking the barn pad and routing the driveway.
- Buy materials wholesale. The excavator in whom we had the most faith quoted an initial pricetag of double the others. Chris asked him to itemize, and it turned out half of his price was gravel. Since he came from an adjacent county, he’d have to pay huge delivery costs on the rock. Chris offered to arrange the gravel from the pit 2 miles away. The excavator was good with it, and it saved us $5,000! Go, Chris!

4. Farm truck
Expected cost: purchase price under $2,500
Actual cost: purchase under $2,500 √ but a total of $4,000 including purchase, repairs, new tires, insurance, and registration
We knew that a full-sized truck under the $2,500 range would need ongoing upkeep, but Chris has made some smart decisions to keep the truck in working order without breaking our budget in the long run, like having us immediately invest in new tires and a suspension repair. That trip to the mechanic that cost nearly as much as the truck itself but meant we could safely use the truck for heavy jobs right away, which, yep, equaled more savings. More convenience. More fun. This truck is a powerhouse.

How to save money on a farm truck:
- Research. What’s important to you and what’s it worth? Do you want a long bed, extended cab, 4wd? Knowledge really is power when it comes to negotiating a fair price on a truck that meets your needs. Read our post about buying a farm truck for tips.
- Buy a truck you can work on. Our pre-computer-era truck engine makes perfect sense if you stare at it long enough. Also, YouTube. Chris’ ingenuity has saved a ton in repair bills.
- Get parts from a salvage yard or friendly neighbors with a bunch of old trucks in their yard.
Next Up
The next big-ticket items on our shopping list are power and a barn. Both have already been journeys worthy of their own posts. We’ll write about them soon.
Sneak peek: we cut power-installation costs in half by deciding to run high-tension wires discreetly above ground instead of digging them underground. Then we found a route for the wires that let us combine power-line clearance with driveway installation, and Chris cleared the few larger trees we were required to remove. Savings from all of that are north of $10,000.
So far, everything in our post about knowing land costs before you make an offer is playing out, especially this: “It’s a safe bet that several unexpected costs will pop up as soon as you close.” I’d add that it’s important to have faith that you can figure out any problem if you sit with it long enough and keep your mind open.
As we finalize our dome kit, we’ll be vetting contractors, excavating our foundation, digging the well…part III of this topic will be in the works soon enough.
