

by Beth
We decided to try keeping bees this year, and preparing for them was more time-intensive than we would have ever expected. Here are the steps it took to get to bee day, when we brought home our first colonies of honeybees.
1. Took a Beekeeping Class
Neither of us had been around a hive before, so while we were interested in keeping bees, we weren’t sure it was for us. This winter, I took an 8-hour class for “new bees” at a store in Weaverville, NC, called Honey & the Hive.

After finding out the basics of what caring for bees entails – opening hives every week, understanding the many things to look for, testing and treating for pests, getting stung – we still wanted to try it, so we…
2. Ordered Bees
There are several ways to acquire bees. We chose the method that seemed good for beginners: nucs (pronounced “nukes” and short for “nucleus colonies”). At the end of January, I ordered 2 nucs from Honey & the Hive.
Nucs are burgeoning colonies split off from bigger colonies. A nuc contains bees in all stages of development and, importantly, a queen who is already accepted by the colony and hard at work making new bees. It’s a more expensive way to get bees because of the time and resources it takes a beekeeper to establish the colony for you. But nucs have a jumpstart on development, so they can hopefully make enough honey to survive their first winter. Bees eat honey for strength, and their goal is to have 50-60lb of honey stored before they have to hunker down for winter.
Keeping bees alive through the winter is a big deal. In fact, even though we’ll be “keeping bees” as soon as we install the nucs, we won’t call ourselves beekeepers until we successfully keep them alive for a year, through winter.
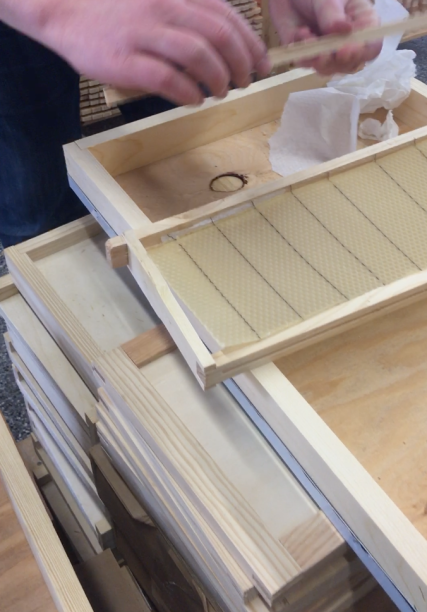
Our nucs would be 5 frames. Frames are the rectangles that hang inside bee boxes, where the bees build out their comb and drop in the good stuff, like pollen, honey, and future bees.
A 5-frame nuc comes with 10,000 busy bees aspiring to expand to over 60,000 bees at the height of the warm season!

Because the growth of each colony is driven by organic factors like weather and a hive’s personal pace, we were given a vague timeframe for when to expect the nucs to be ready for pickup, sometime from late March-mid April. This left plenty of time to prepare the bee yard and boxes, which is lucky, because it turned out to be a lot of work.
3. Bought, Assembled, and Painted Bee Boxes
Our nucs would fit into Langstroth hives, the kind of hive made of stacked boxes (photo from Pixabay):

Most boxes will be filled with frames, though some might hold other equipment like feeders. Bees grow up through the layers of boxes. The height of a stack depends on how successful a colony is that year. A new box of frames is added as soon as bees have started making comb on all but 3 frames in an existing box.
We needed equipment for 2 colonies, meaning 2 sets of boxes. The costs quickly add up; we started by comparison shopping at a local hardware store. The owner keeps bees and stocks a good bee section.
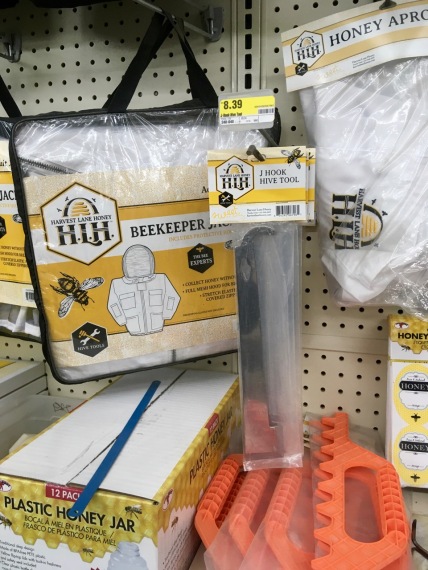
However, Honey & the Hive had a bigger selection, was a few dollars cheaper, and staff was exceedingly supportive, so we decided we’d do our initial stock up in Weaverville. On a Saturday in February, on a lucky whim, we made the 1.5-hour drive.
There were some important choices to make, in particular the size of the hive boxes. The largest option was a 10-frame/deep. Those can weigh 90lb when full of bees and honey, and you do have to move boxes regularly. We chose the smaller, 8-frame/medium boxes to give our bad backs some relief.
It was cheaper to build the boxes ourselves. We might’ve caved and payed extra if they had pre-built boxes in stock, but the store was already running low on supplies. With 1-2 months until bee pickup, I thought we were shopping early, but we were right on time. Not only was there still a variety of equipment to choose from (I think we got some of the last medium boxes in stock, though), we had much more work ahead of us than we realized.
Staff spent a generous amount of time teaching us how to build everything.
We left with a stack of pine panels and a few big baggies of nails, a pile of wooden slats and beeswax fillers to build the frames, a smoker, a bee handbook, 2 beekeeper get-ups to protect from stings, and a jar of sourwood honey for good measure. We stopped for wood glue and coffee before making the winding drive home.
Sunday night, we assembled half the boxes and frames and found they had given us a few pieces for 10-frame boxes instead of 8-frame. Later in the week, we drove back to Weaverville to swap the pieces. It’s a haul but a beautiful one through the Southern Appalachians. Honey & the Hive was hosting a local market that evening, so we picked up amazing teas, kimchi, and of course more honey. Little did we know how comforting those tasty things would be when we were stuck at home a few weeks later, social distancing.
Chris built the rest of the boxes in an afternoon, and later another half a Sunday building all the frames. I set up a painting area on the porch. The boxes are pine and will last much longer if protected with primer and paint.
We decided on 2 pastel colors, light yellow and Carolina blue, that won’t attract heat in summer. Thanks to yet another wet winter and days with over 90% humidity, it took a week to apply 2 coats of KILZ primer and 2 coats of paint to all the surfaces bees won’t be living on.
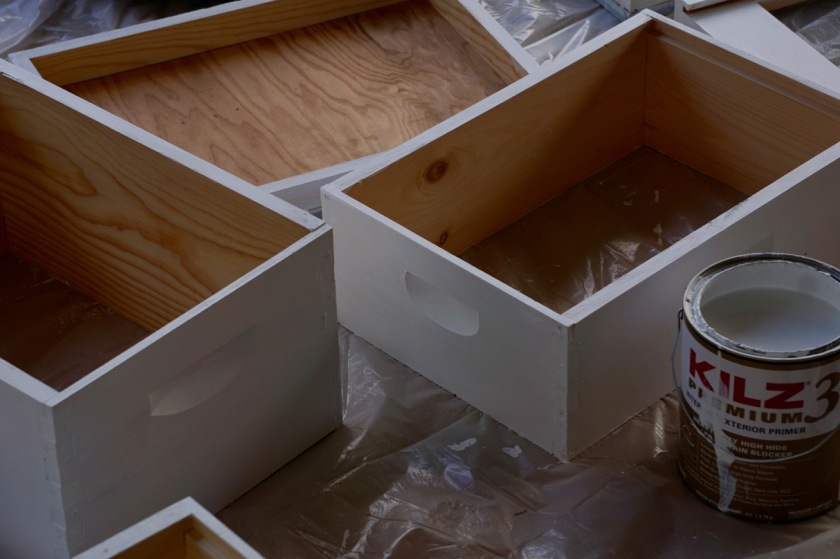
We used exterior paint with the lowest level of VOCs (volatile organic compounds) we could find, <50, so the fumes won’t irritate the bees.
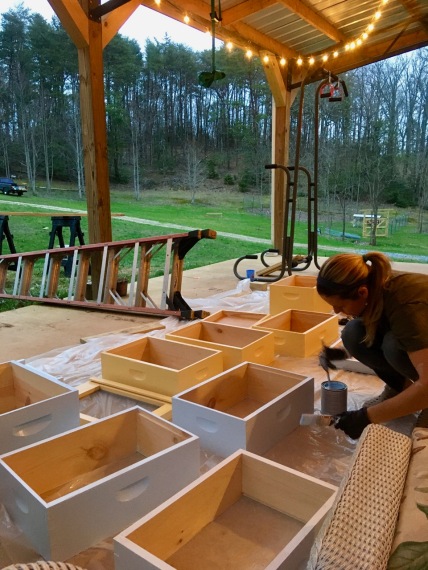
As I applied the last coat of paint in time for it to air out pre-bees (at least 2 weeks is recommended), we had already started the last step…
4. Built a Bee Yard
A bee yard will preferably be flat and sunny but protected. That’s “preferably” because those are coveted land features and not everybody can accommodate all 3. Plus, some like to keep bees in shade. Beekeeping methods, like chicken keeping, vary tons.
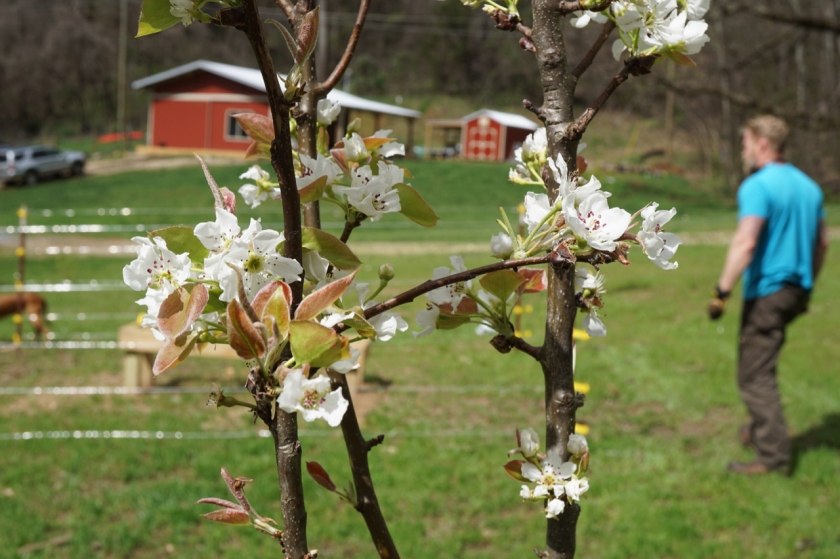
Our best spot turned out to be in the middle of the orchard of fruit trees that love pollinators, and vice versa. The creek runs nearby so they don’t have to fly far for water. The yard is far enough away from the driveway that rumbling dome construction trucks won’t bother them. It’s as flat as our land gets and fairly protected, though even in this sheltered hollow, wind gusts are formidable a few weeks each season. Hopefully that won’t perturb the bees enough to drive them off.
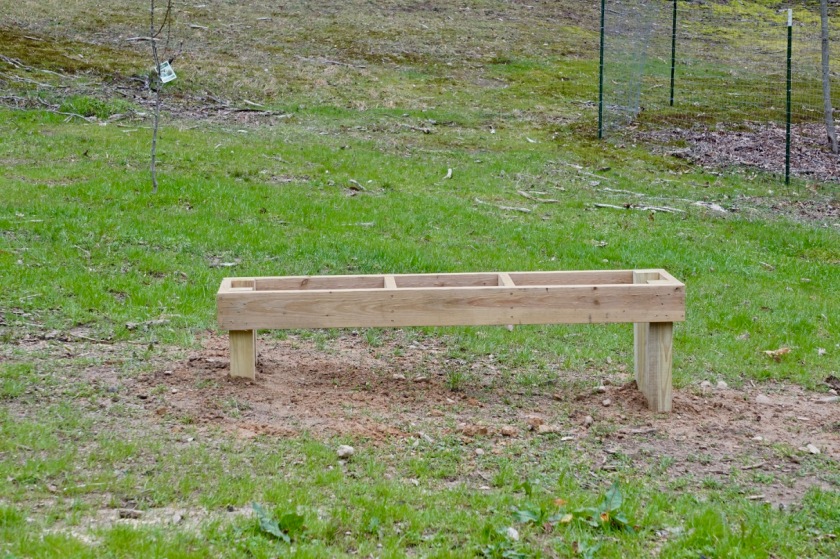
Hives should be 12″ or more off the ground to protect from moisture, ants, beetles, skunks, and other varmints. Chris said to forward him a good stand design for inspiration. We wanted something clean looking but solid. A stand may need to support a few hundred pounds when hives are full of honey. Ours will have to withstand occasional hearty wind gusts, too. Limited contacts with the ground should help us battle ants.
We oriented the stand toward sunrise, leveled it, and Chris concreted the posts. It will stay open on the bottom for air flow.
Because we’re in the woods, we heeded the warning to build an electric fence to keep bears out. This was our first electric fence, and Chris did extensive research to make sure we installed one that’s strong enough to deter bears: 6K volts. Bears might not feel a lighter jolt through thick fur.
It’s powered by a solar panel and connects to the chicken run to protect our precious poultry pets from predators, too.

We don’t like electric fencing but prefer it to losing cherished bees and chickens to wild neighbors. It’s one of the lowest-impact ways for us to establish firm boundaries for wildlife around the birds and bees.
Bee Day
I won’t try to guess the hours it took 2 beginners to prepare for bees, but social distancing gave us all the time we needed to get ready, and building everything was an important initiation. The hard work gave us some needed self-confidence come bee day this past week, when we brought bees home. Since the hands-on portion of the beekeeping class was postponed by CV-19, we touched hives for the first time when we installed the nucs.
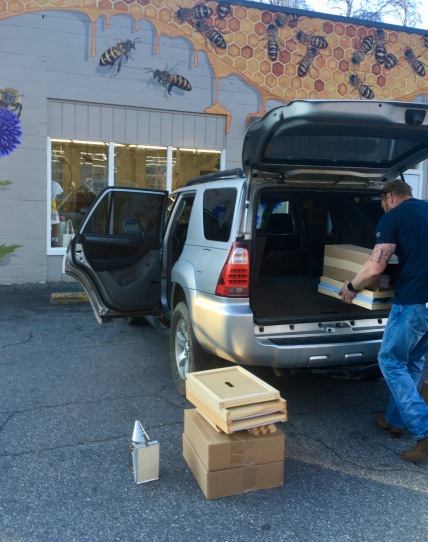
I woke up at 5:30 to reach Weaverville early to be sure to snag 2 of the limited supply of marked queens. Knowing what the queen is up to is essential, and without experience, we weren’t sure we could locate the queens in our hives without the bright marks.

Bringing home nucs is crazy. I drove 1.5 hours with 20,000 bees in the backseat, in boxes flanked by ice. Bees generate a ton of heat. The same sturdy boxes that keep bees from flying all over the car can trap too much heat and cook them, so the A/C was on high the whole drive. Gotta stay cool, y’all, in all senses. Here I am showing no fear.
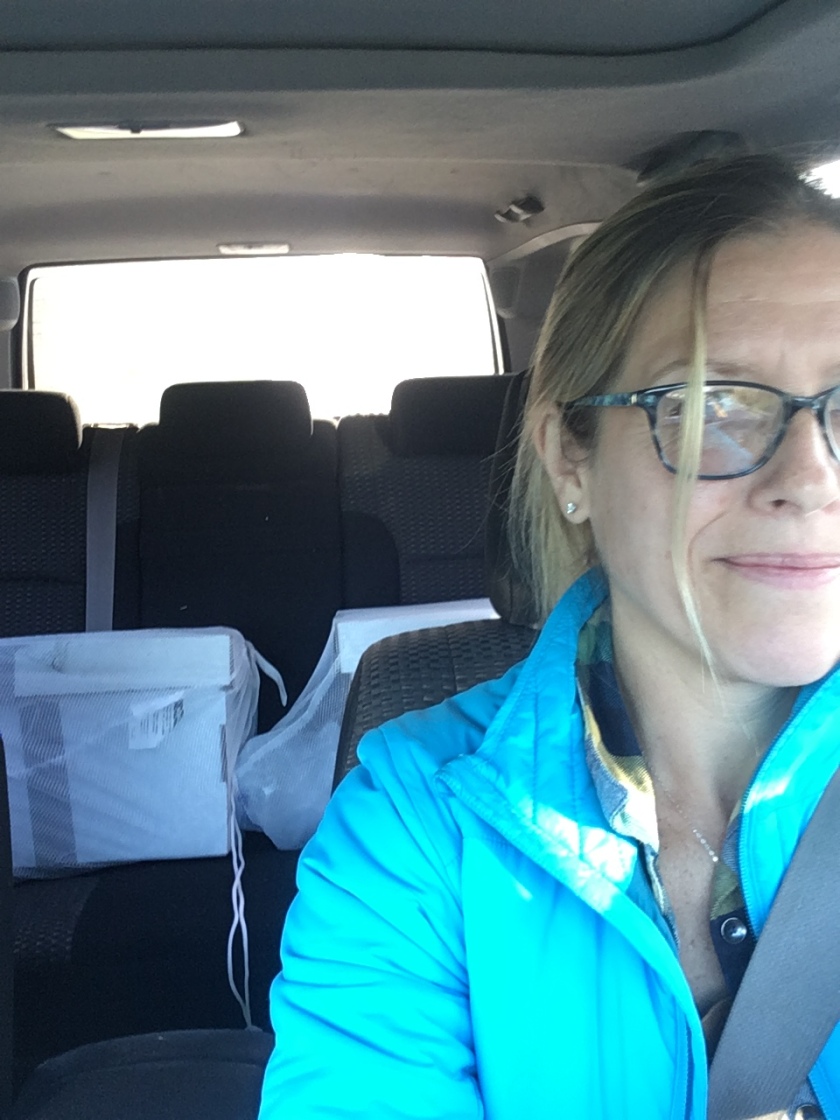
As suggested, protective gear was in the seat next to me, but it wasn’t needed. Only a few stragglers wiggled out of the $1 laundry bags holding the ice on the boxes and buzzed around the car. Honeybees usually aren’t aggressive, and if you remember that, it’s easy to stay calm.
Back home, we uncapped the boxes so the bees could cool off. We let the boxes sit in their new locations for an hour until the sun came out. As hot as the bees are in the boxes, taking out the frames in cool air can give them a bad chill, an interesting parallel to chickens – don’t get those babies cold.

We put on suits and fired up the smoker to calm them for the move to their new homes.
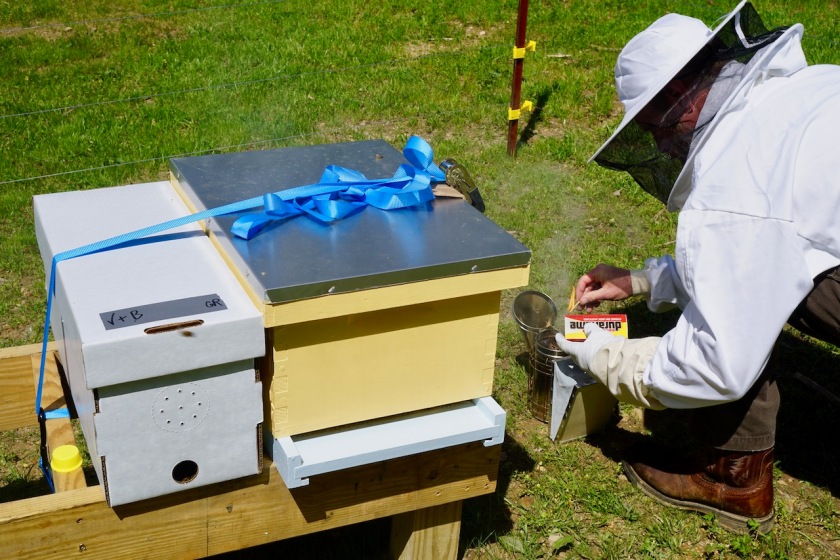
Do you know why smoke calms bees? They think a forest fire is coming, so they focus on eating honey to power up to escape. Eating makes them fat and lazy.
That’s about where our bee knowledge ends at the moment. We have a ton to learn about how to keep bees healthy and look forward to attending local beekeeping meetings and visiting neighbor beekeepers as soon as social distancing lifts. Until then, we’re grateful for people sharing information on bee forums and YouTube.
Speaking of which, here are the videos we made for our nephews when we installed the nucs.
Again, this was the first time either of us has seen the inside of a living hive. In the future, I’ll bet we’ll look back at these videos and see much more about the frames than we understood the first day. Please wish us luck!

Whoa! That is a bit of work.
Wishing you the best of luck
LikeLiked by 1 person
Congrats on bees! Try to work them every week your first year, just to get more experience inspecting them–and take monthly mite counts.
LikeLiked by 1 person
Thank you for the good advice! We’ll take all we can get. It’s been weird starting off without a chance to do hands-on learning on what to look for in our frames, but there is a lot of support around here, luckily.
LikeLike
As someone who is deathly allergic to bees, hats off to people like you taking care of the honey for me! 👍
LikeLike